Search This Blog

Showing posts with label diy. Show all posts

Monday, September 4, 2017

Garden Themed Baby Shower: Tassel Banner

Good morning! Last week I shared the step by step instructions for this large, floral “E” I made for a friend’s baby shower, and nursery.

IMG_8867.JPG

Today, I’m happy to share a quick tutorial with you for a tassel banner.


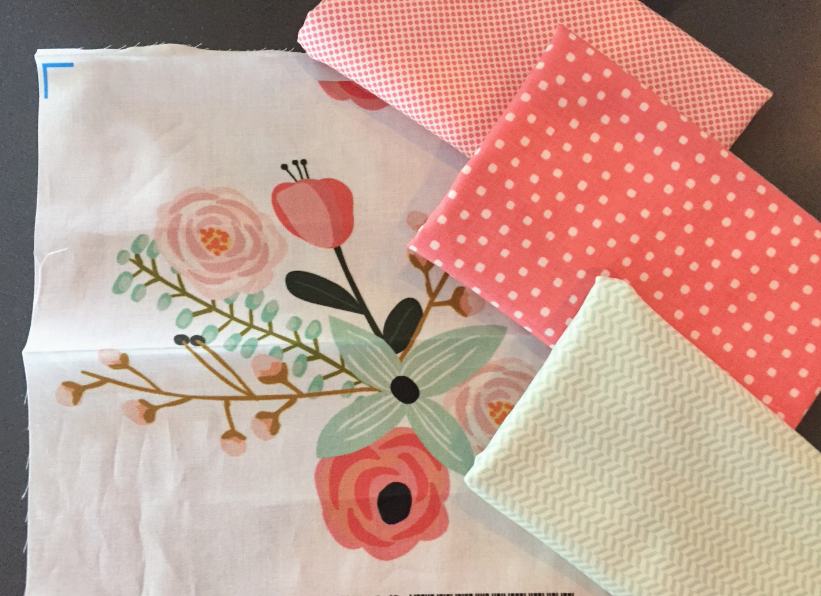
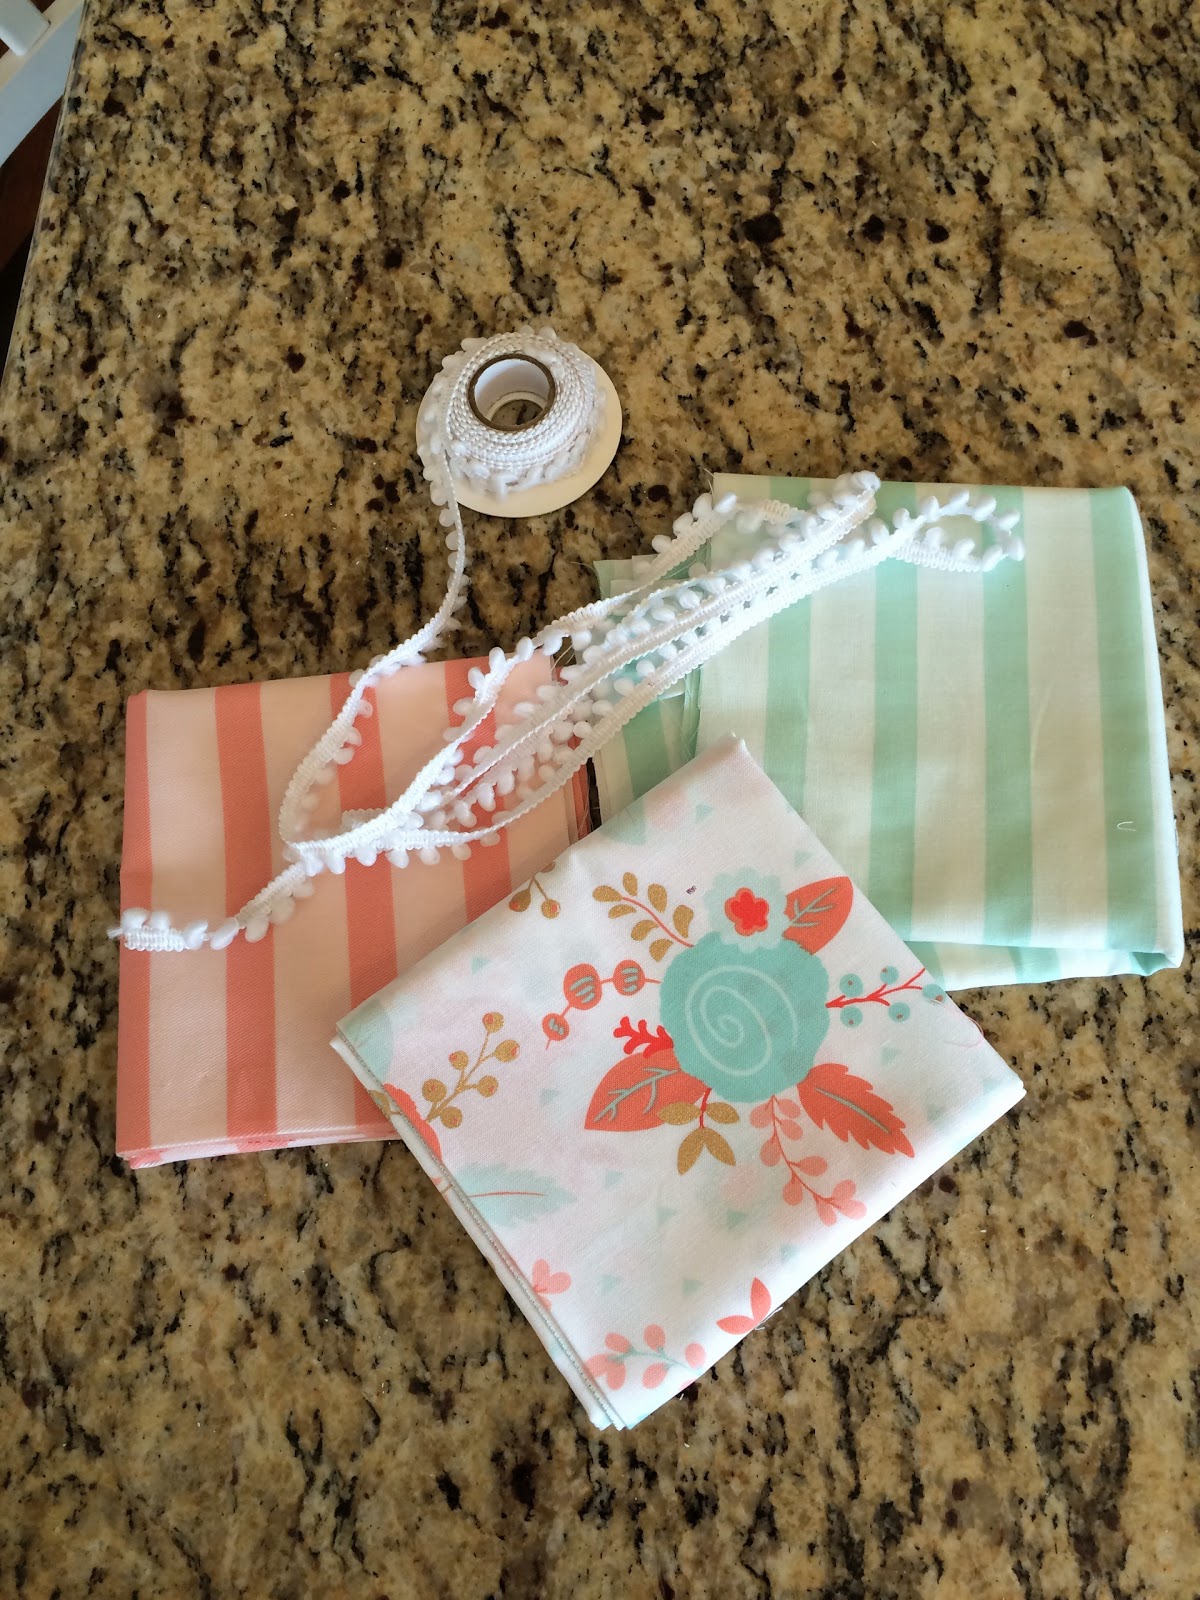
First, choose 3-5 coordinating fabrics, as well as a string, or ribbon to attach the tassels to.  I chose these to coordinate with her nursery (see her fabrics in last week's post):


IMG_8876.JPG


I got ¼ yard of the striped fabrics, and a ½ yard of the floral. I folded each piece in half and using the total width, figured out the thickness of each strip.


IMG_8878.JPG

Once I got all the strips cut, (this process showed me that I NEED new scissors. I have three pairs in the house and none of them were properly sharp….hand. cramp.) I decided to wash them. Maybe it’s because my scissors weren’t that sharp, but I decided to work with the rough edges and after washing, they were more uniformly frayed. If that makes sense.

IMG_8881.JPG


IMG_9206.JPG


I tied my pom pom ribbon between two chairs and began planning out the tassels by simply draping them over the ribbon. I didn’t really do this in any particular pattern, I mostly just avoided putting two identical strips next to each other.


To attach the strips:


IMG_9205.JPG


Once you get the “tails” through, your knot may need some adjusting to best show the print.

IMG_9212.JPG


Next, I sat myself down and a few at a time, attached the strips to my ribbon.

IMG_9214.JPG


That’s it! You could totally do this for a fall banner (buffalo check and orange), Christmas (red plaids, greens), a banner for a birthday party, for above a bed….This is so inexpensive, versatile and easy!


Let me know if you make one, I’de love to see it!

Thanks for reading! XO, Steph

Tuesday, August 29, 2017

Garden Themed Baby Shower: Floral Letter DIY

Well, it’s here. Back to school. C went back to school today (FIRST grade!)  so I’m here, and back to blogging. We had such a fun, fun summer so it’s hard to let go of it. But life goes on and we’re looking forward to a great year!

A short personal update, I’ll be teaching this year at L’s Mother’s Day Out. It’s a small, and precious little church school and I feel honored for them to have me there. I’m also pretty nervous, so think about me next week!

Last month, several friends and I threw a baby shower for our friend, Jennifer and her baby, Elizabeth (coming any day now!).  I did a few projects, to be used as decoration at the shower, as well as for her to use in the nursery. We went along with the her nursery’s theme, and threw a garden themed shower.

Using her fabric choices as a guide, I made a tassel banner and a large, floral  “E”. I really wanted to share the tutorial for these two things because they were so easy and so versatile! You could use the idea and make it work for you, and your decor.

Here are the fabrics she chose:

IMG_8401.PNG

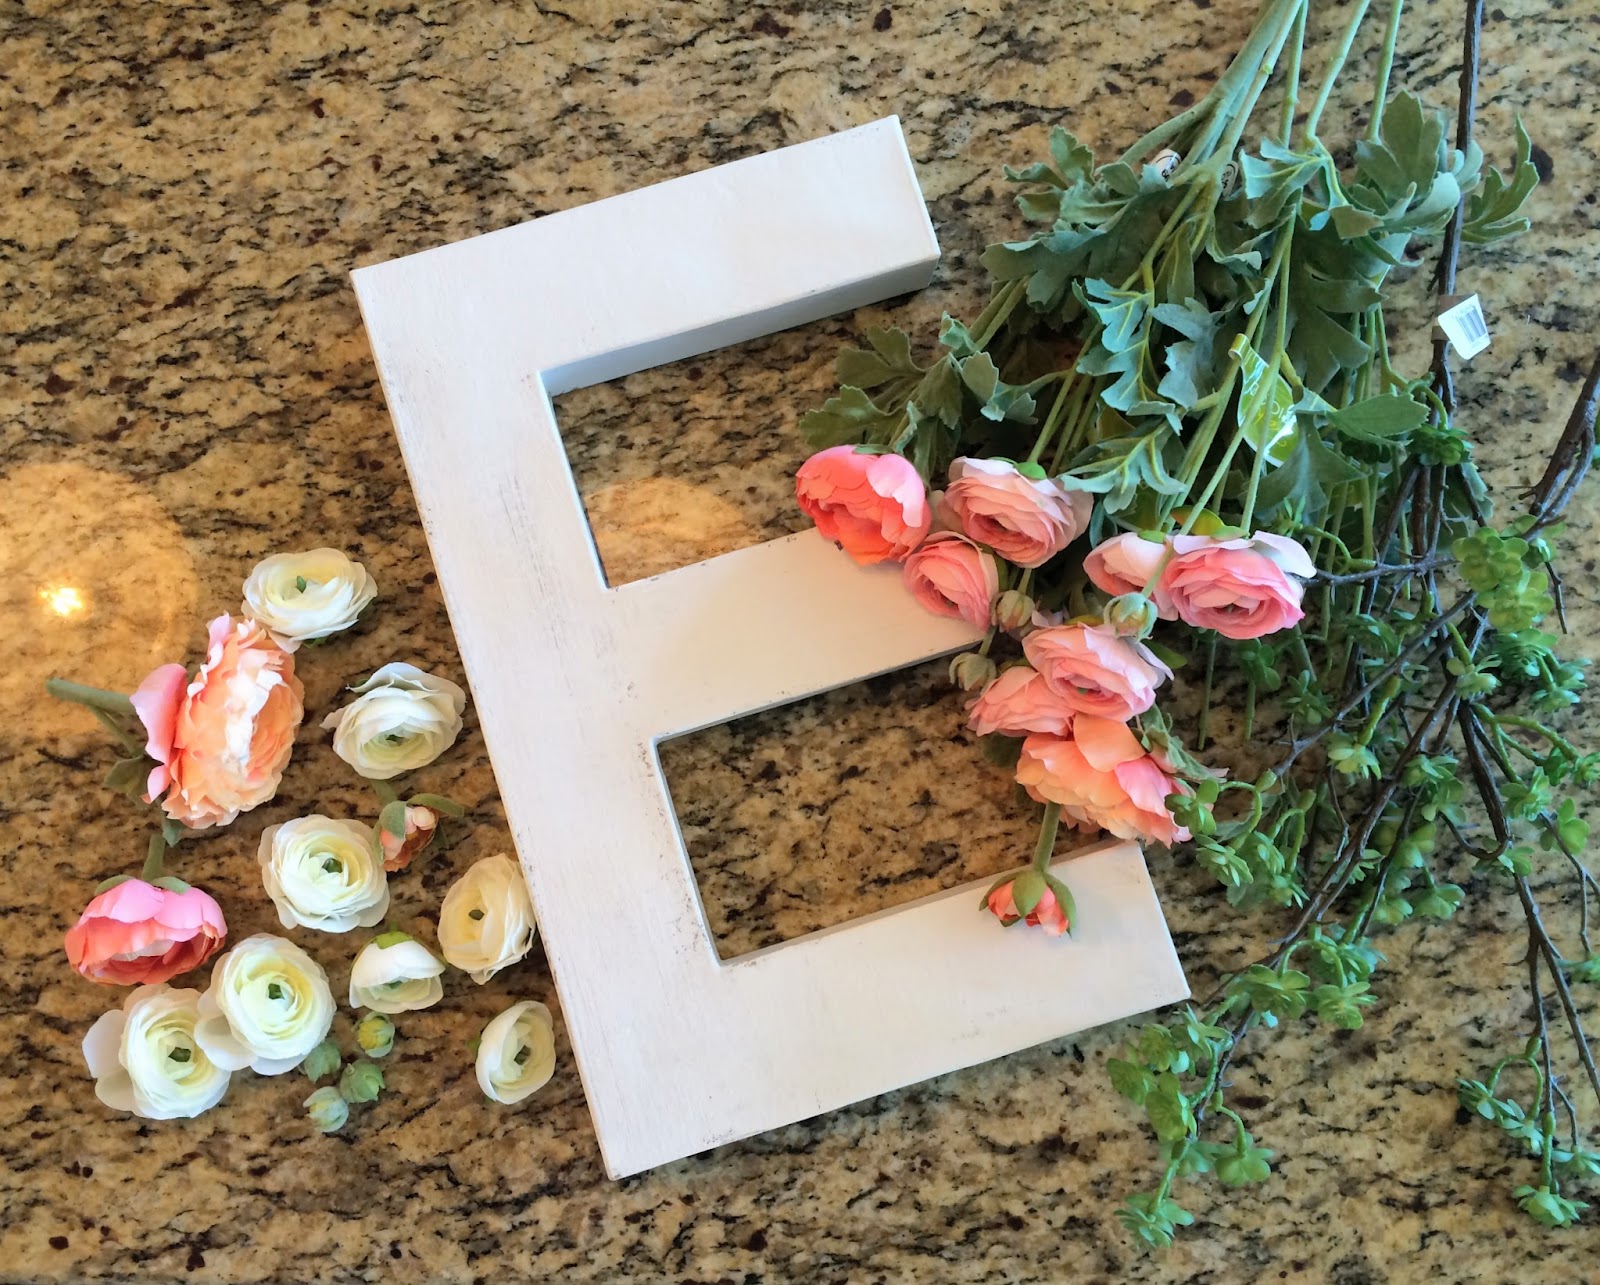
Let’s start with the big “E”. Here are the supplies I used:

IMG_8677.JPG

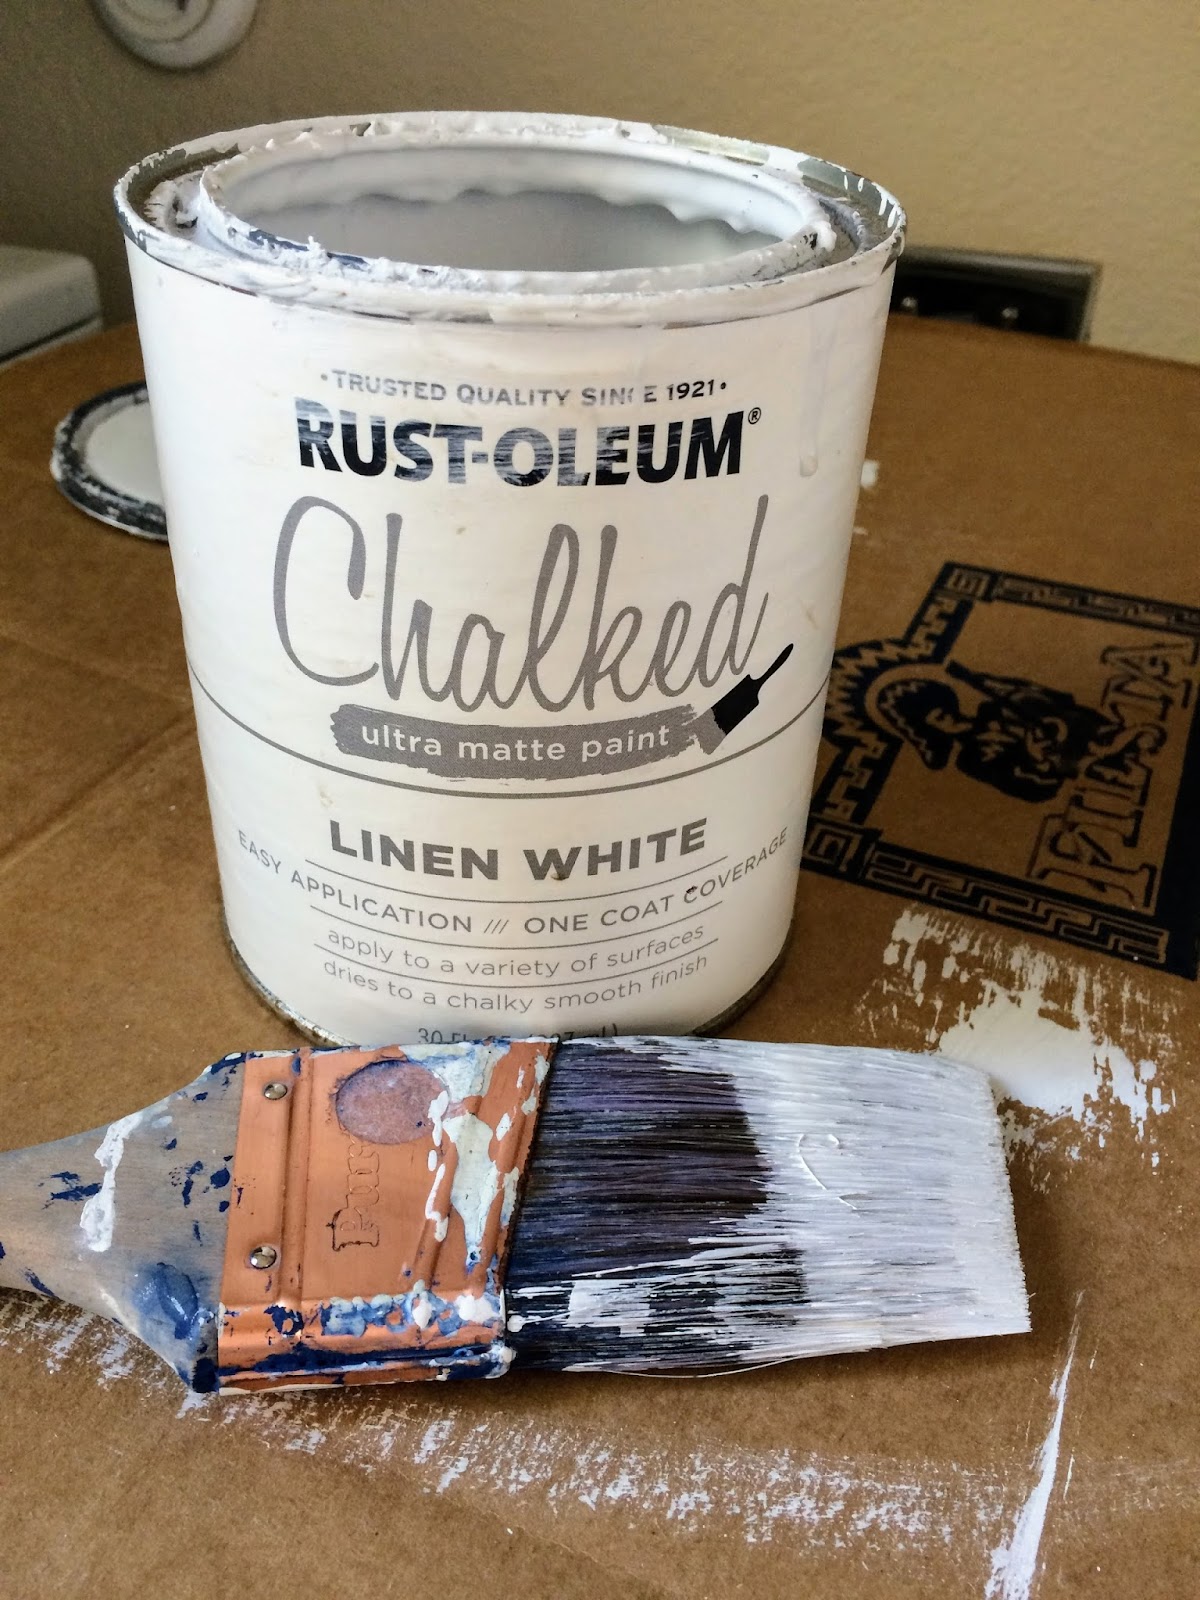
First, I painted that hollow, cardboard “E” that I got from Hobby Lobby. I found it in the crafts section and it was under $5. I used my favorite paint:

IMG_8616.JPG

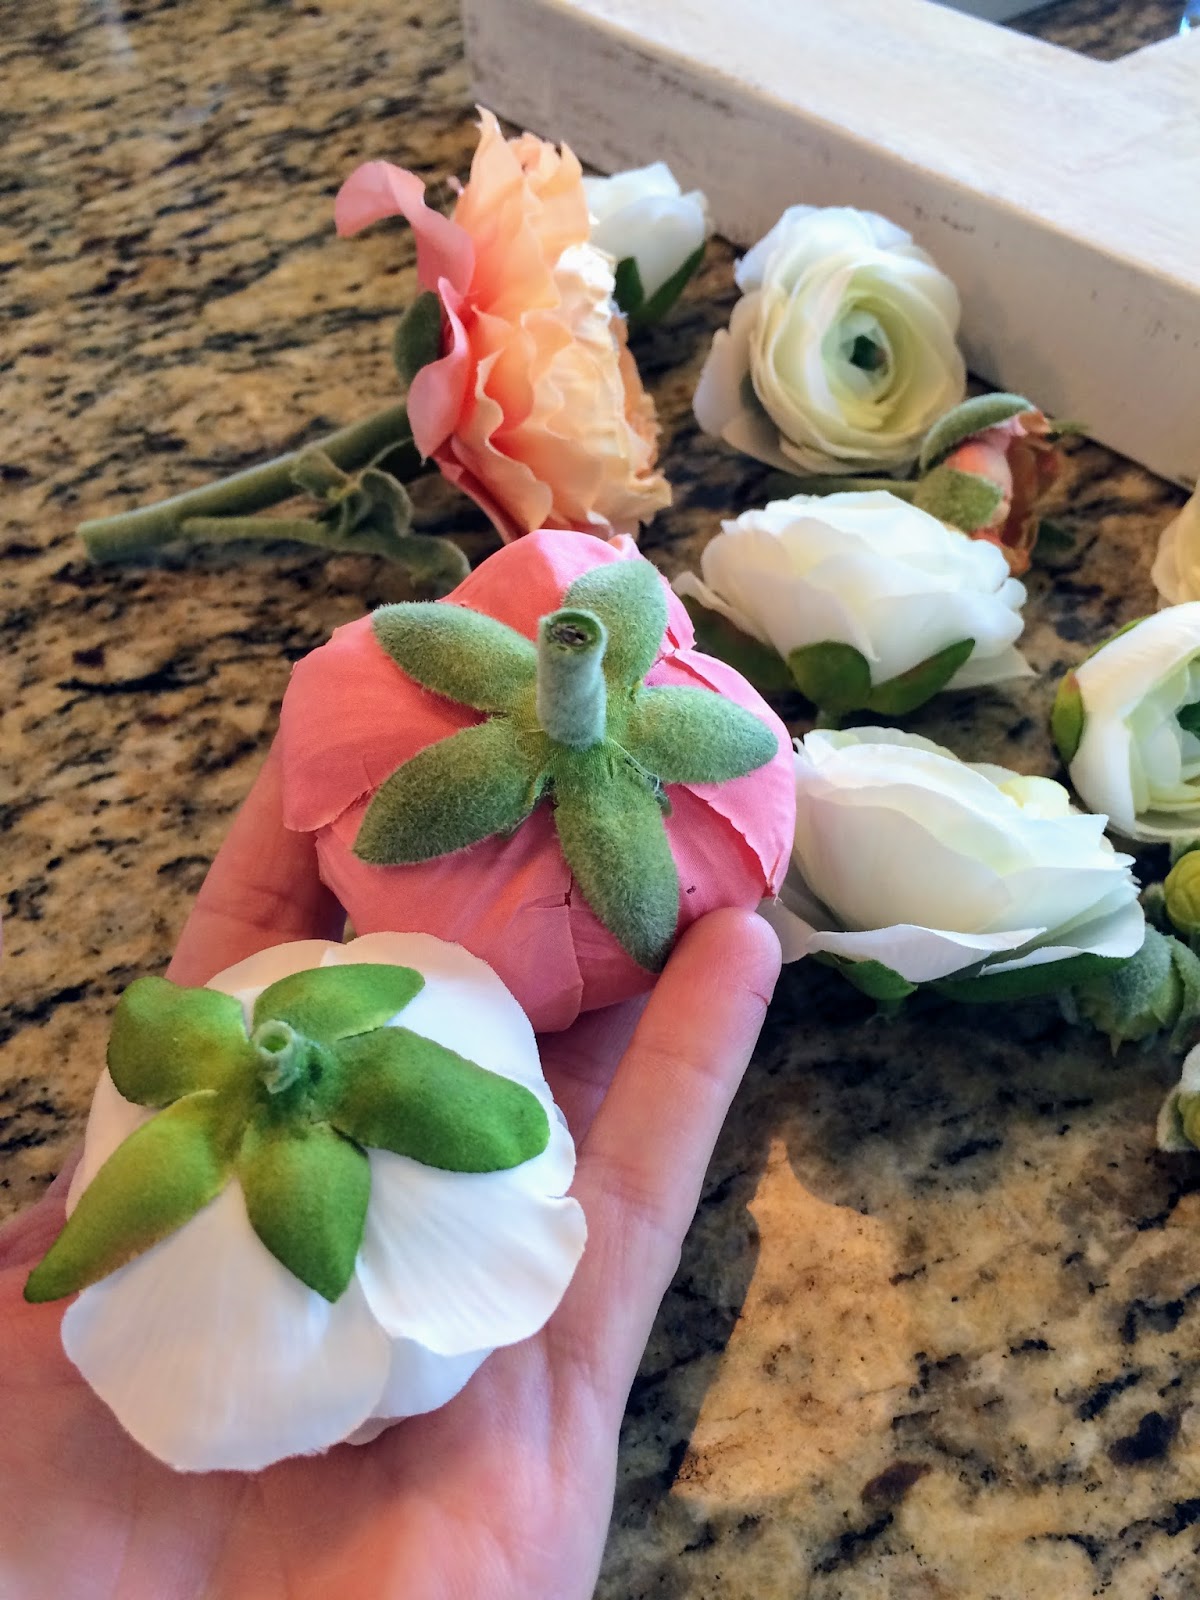
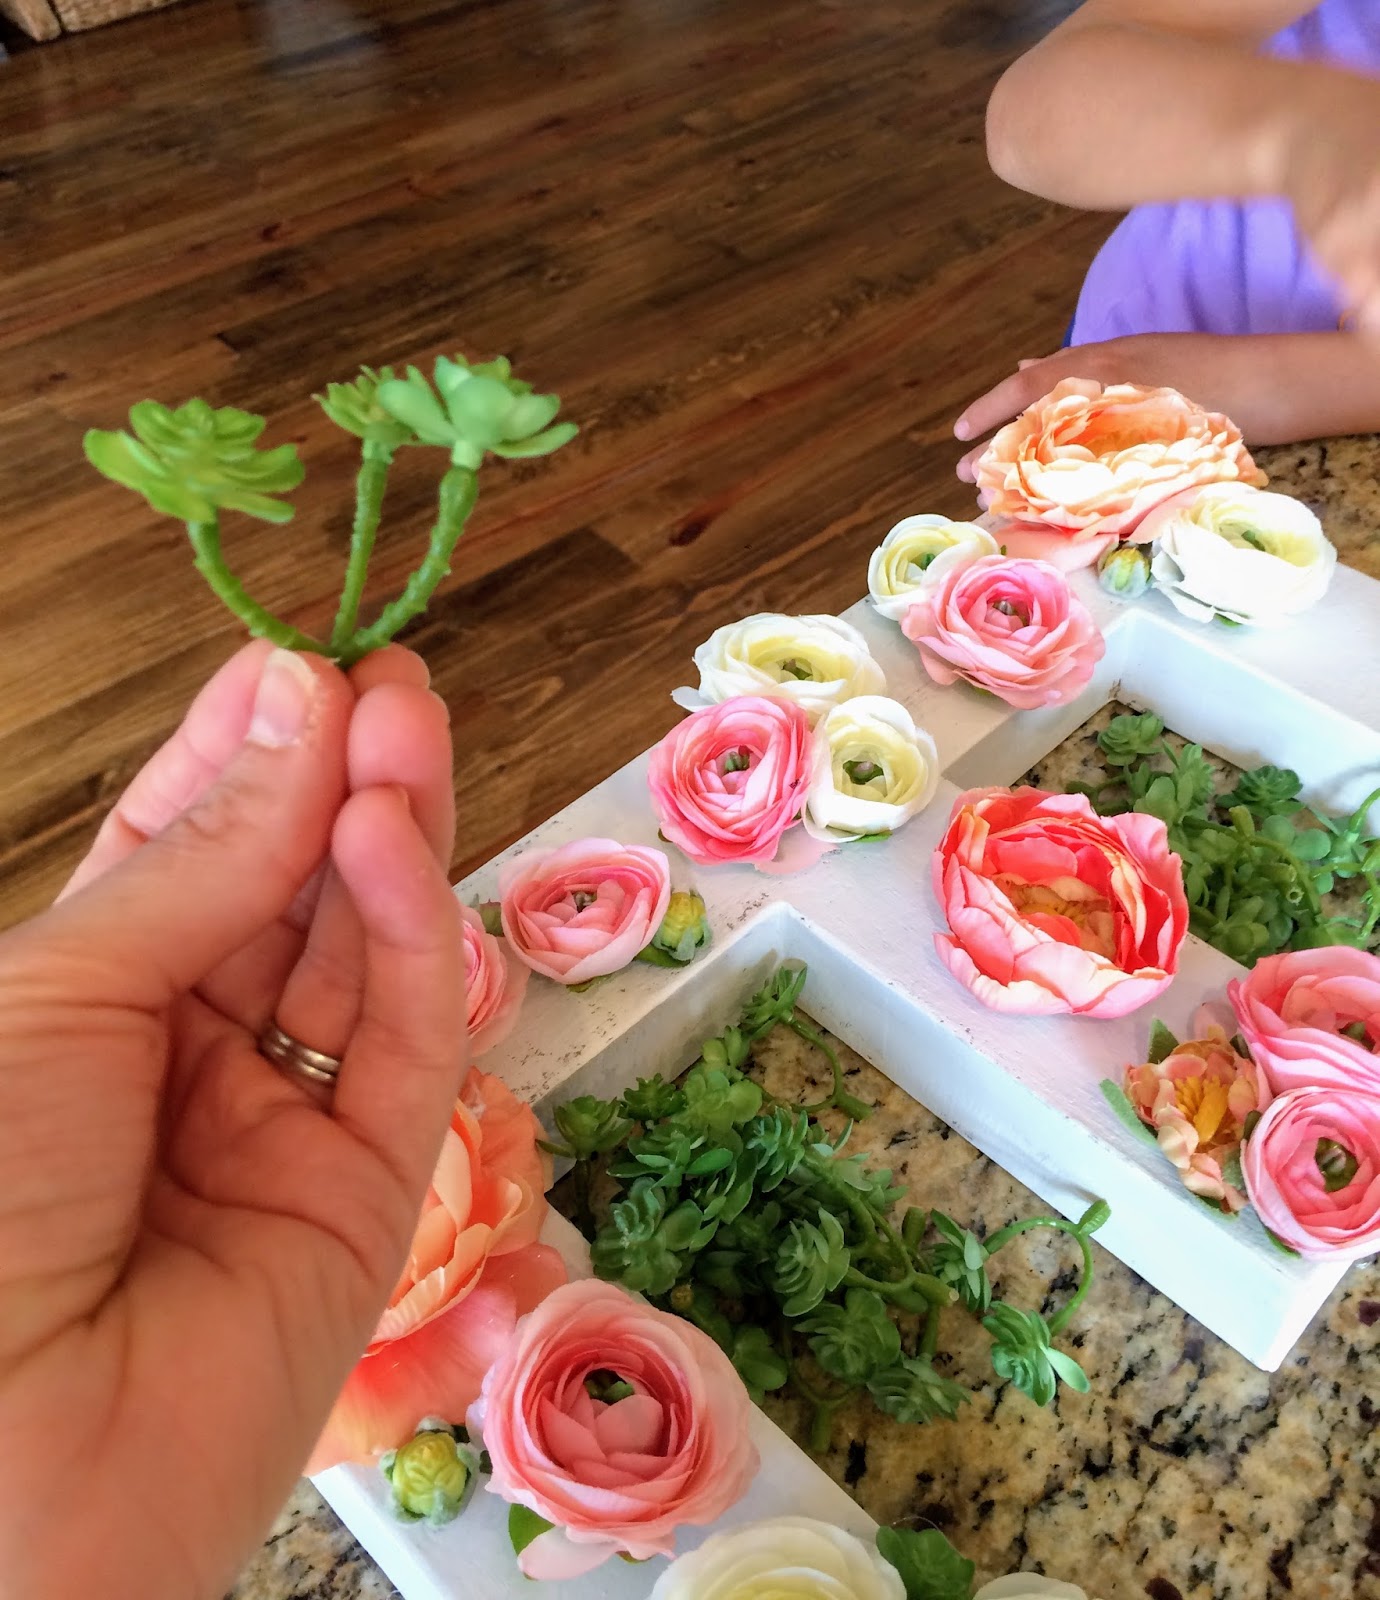
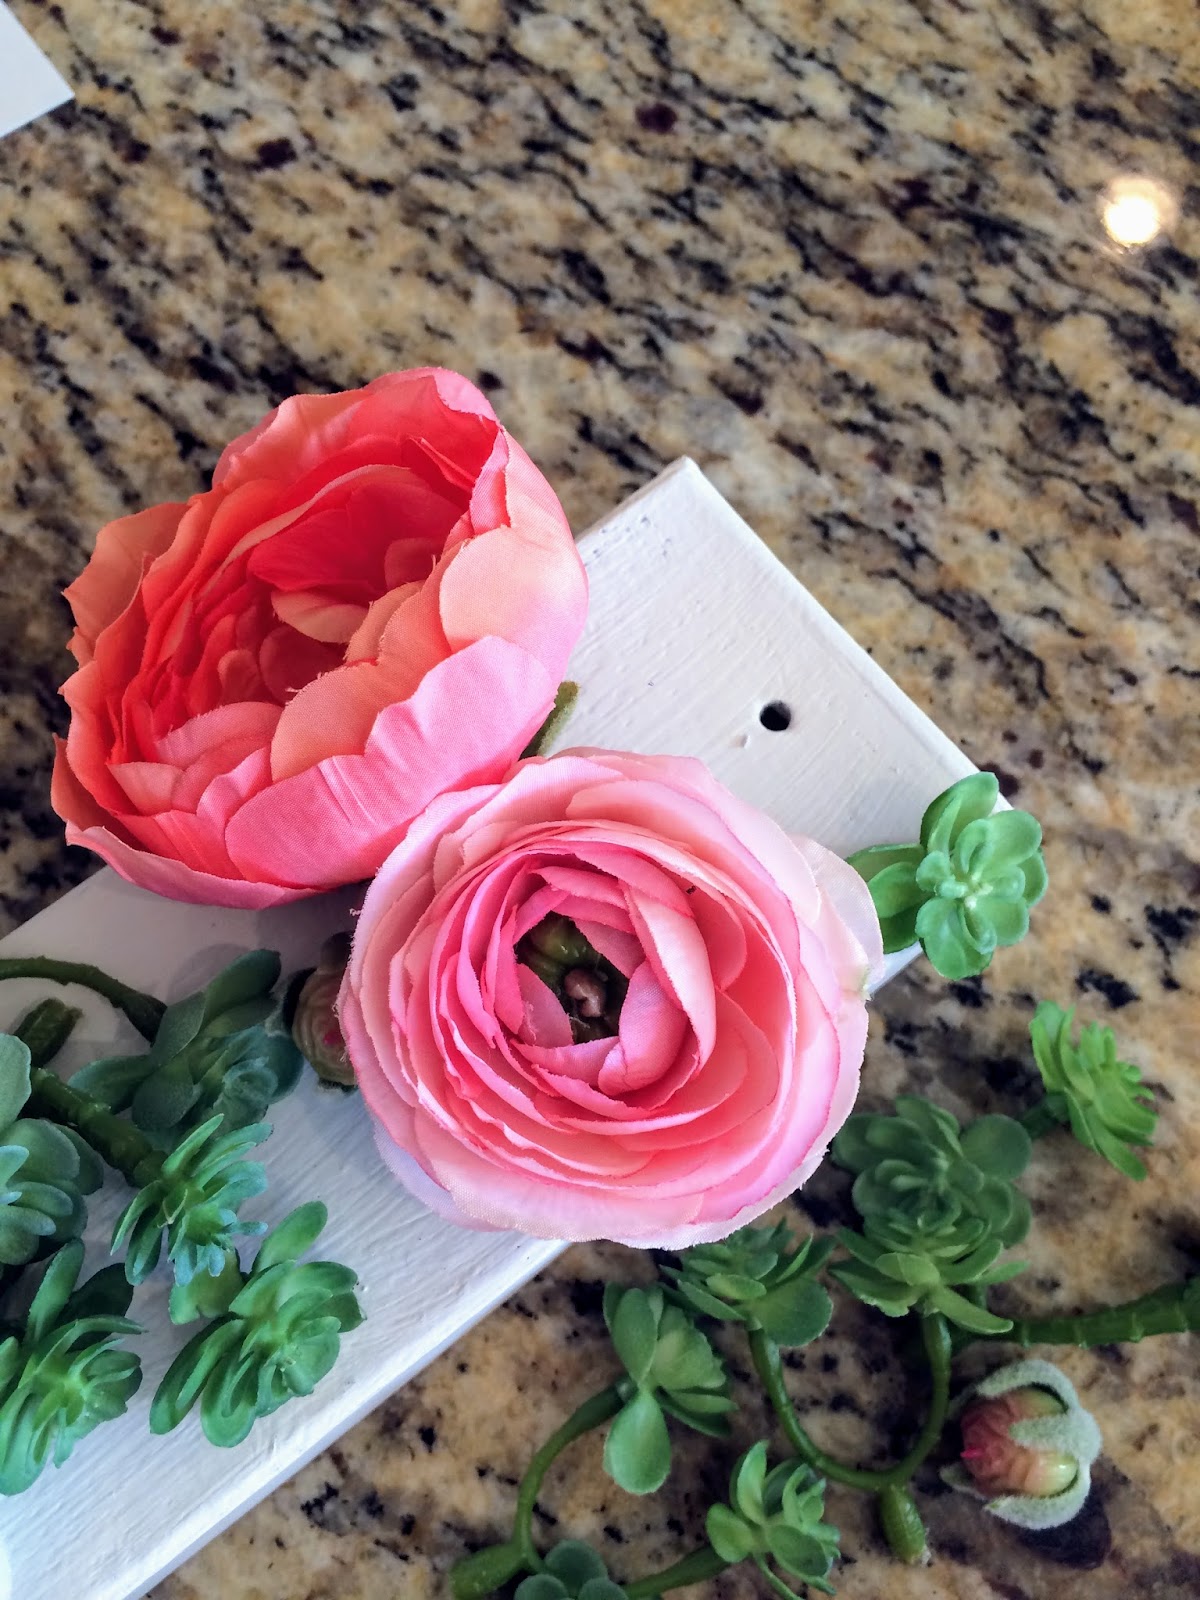
I plucked the heads of the flowers from the stems :

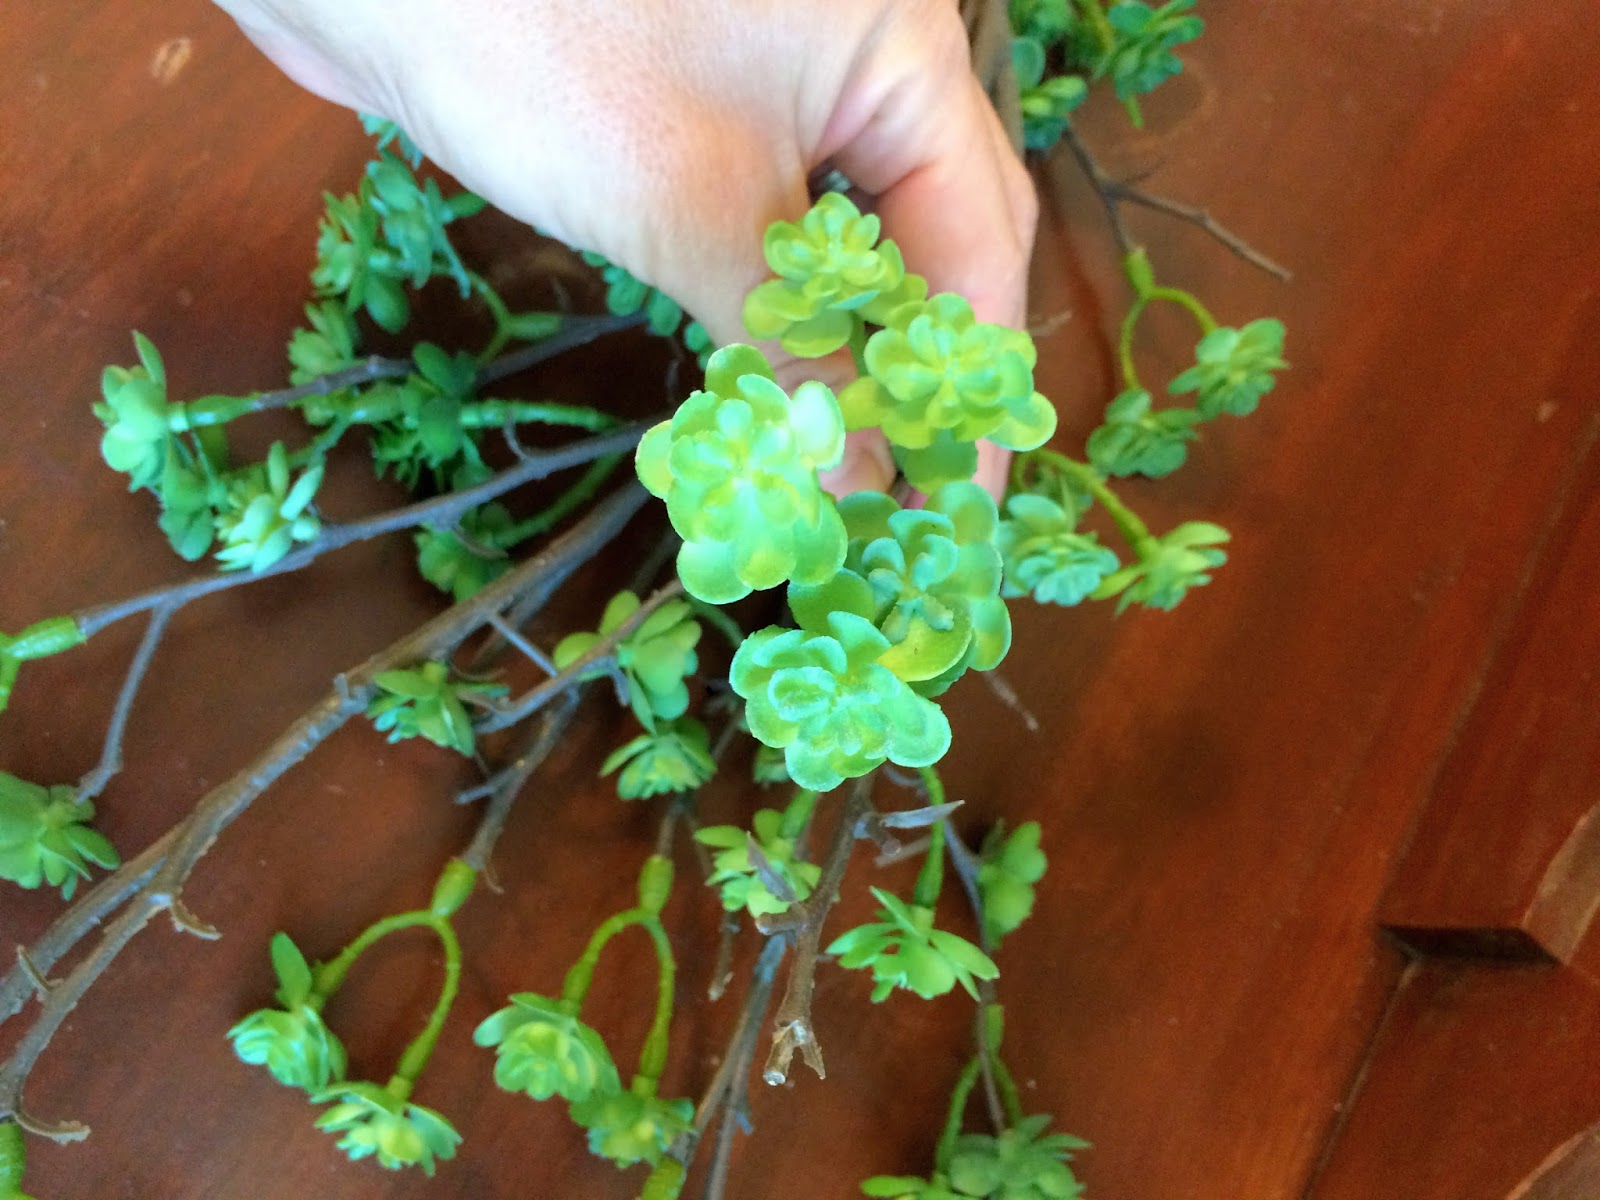
The faux flowers were the priciest of all the materials. I shopped around and got the stems on sale, and also found these cute mini succulent stems to fill in some gaps for just a few dollars. IMG_8679.JPG

IMG_8621.JPG

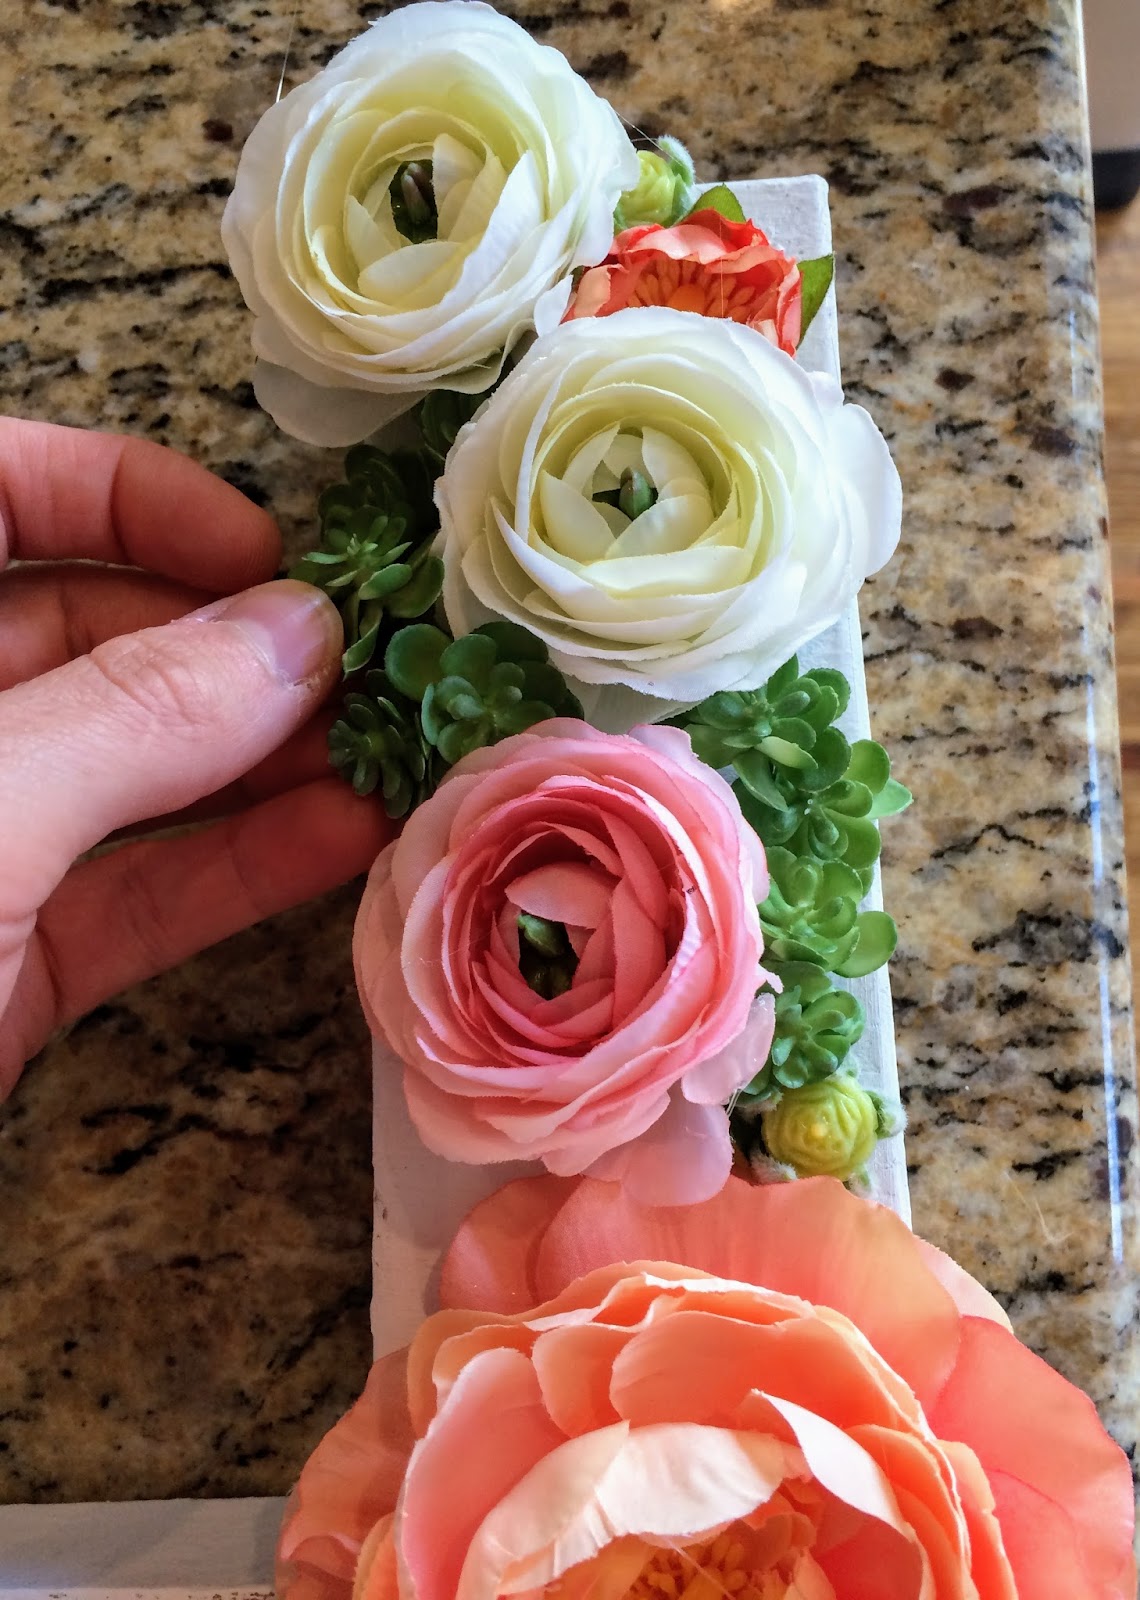
Next, I played around with the arrangement of the flowers until it “worked”.

IMG_8864.JPG

IMG_8859.JPG

IMG_8862.JPG

I placed the biggest flowers first, then groupings of 2-3 depending on size. I filled in the gaps
with the smaller buds and succulent stems. You’ll just have to arrange and rearrange until it’s right. Or just copy mine, if you like it!

IMG_8865.JPG

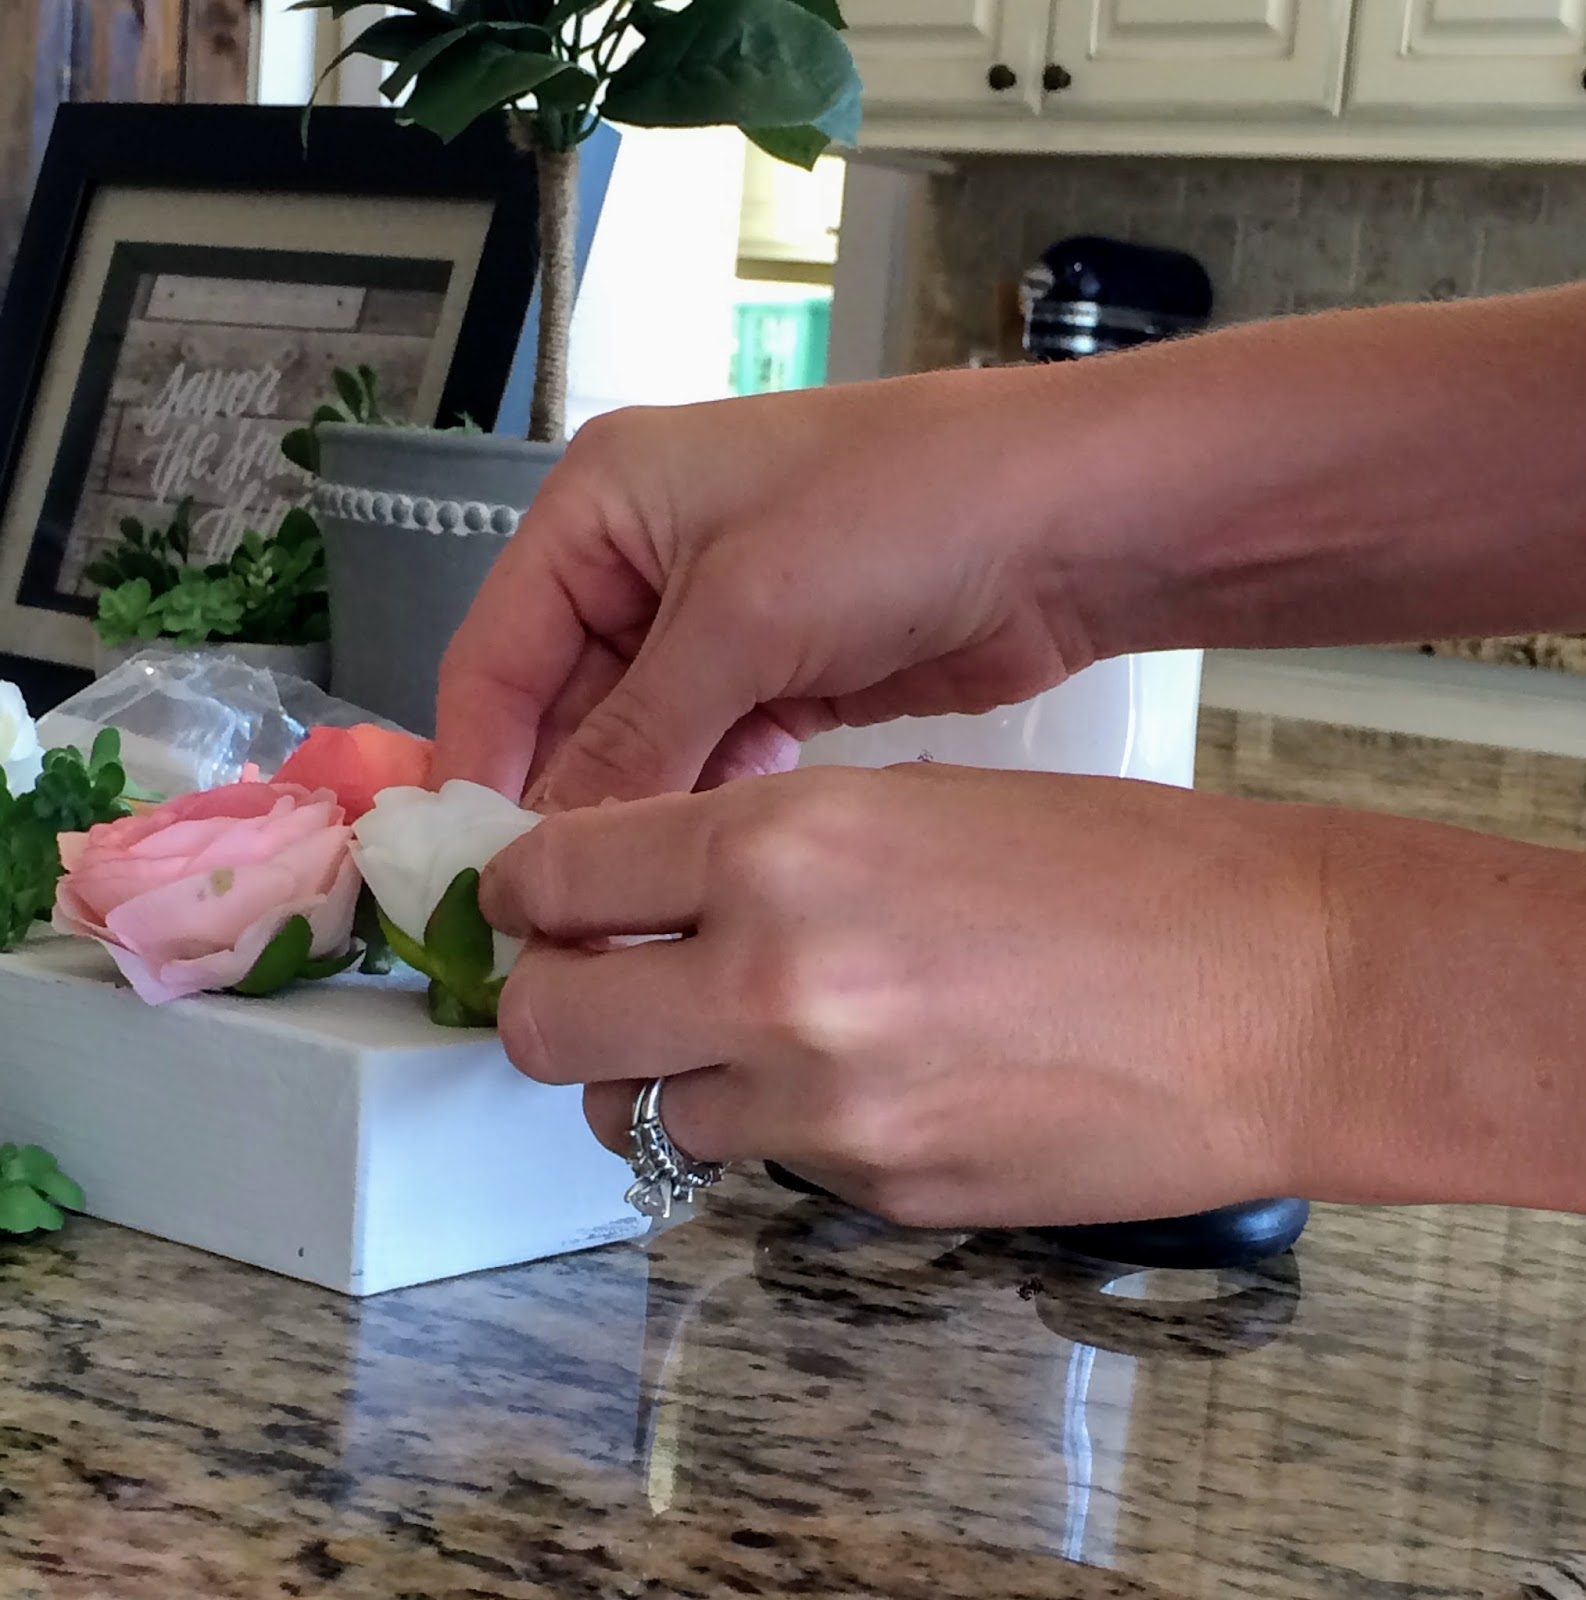
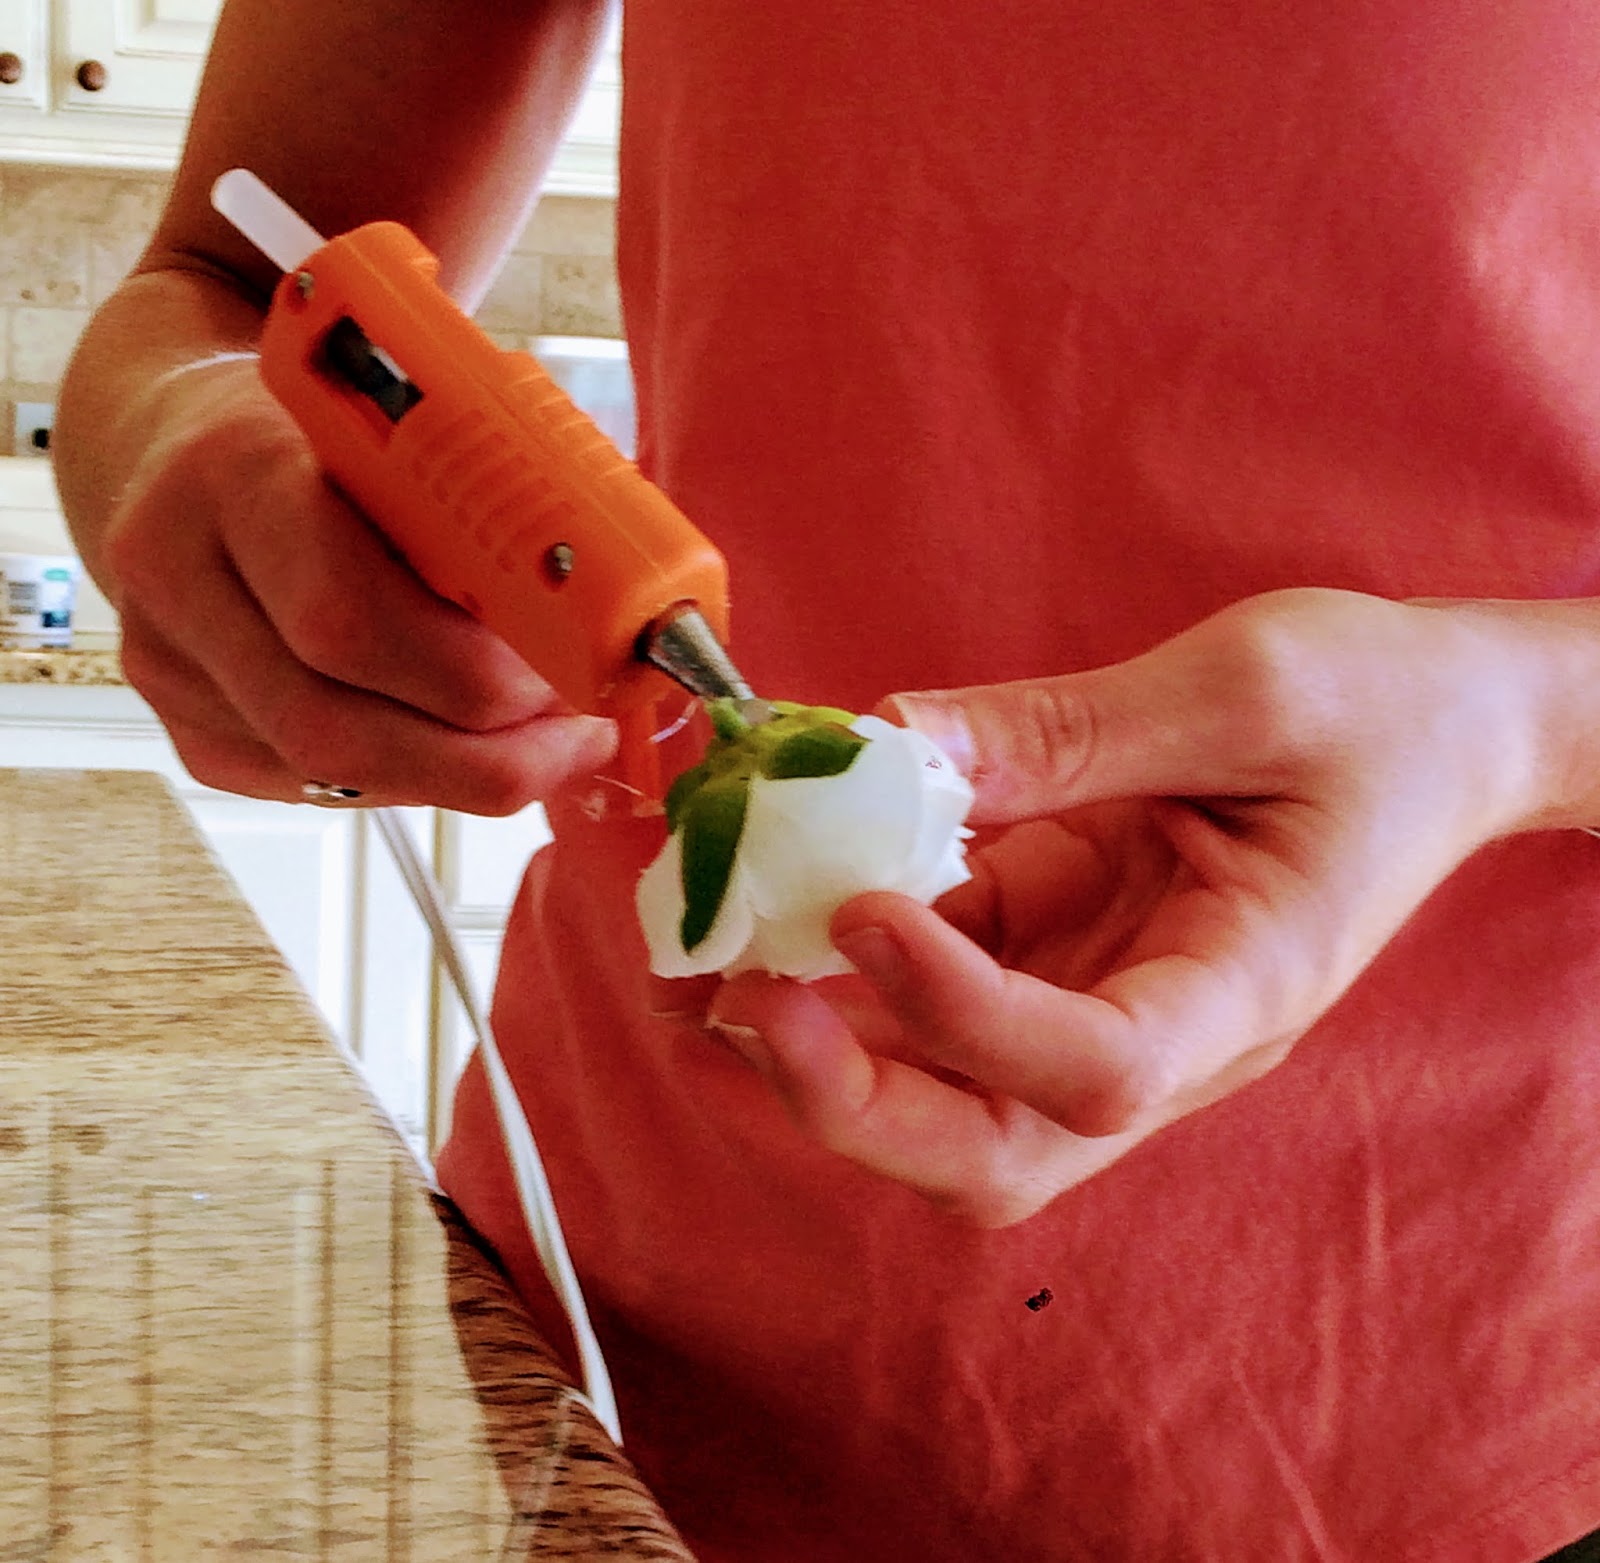
To attach the flowers, I punched a hole in the “E” and then hot glued the bottom of the flower.

IMG_8851.JPGIMG_8852.JPG

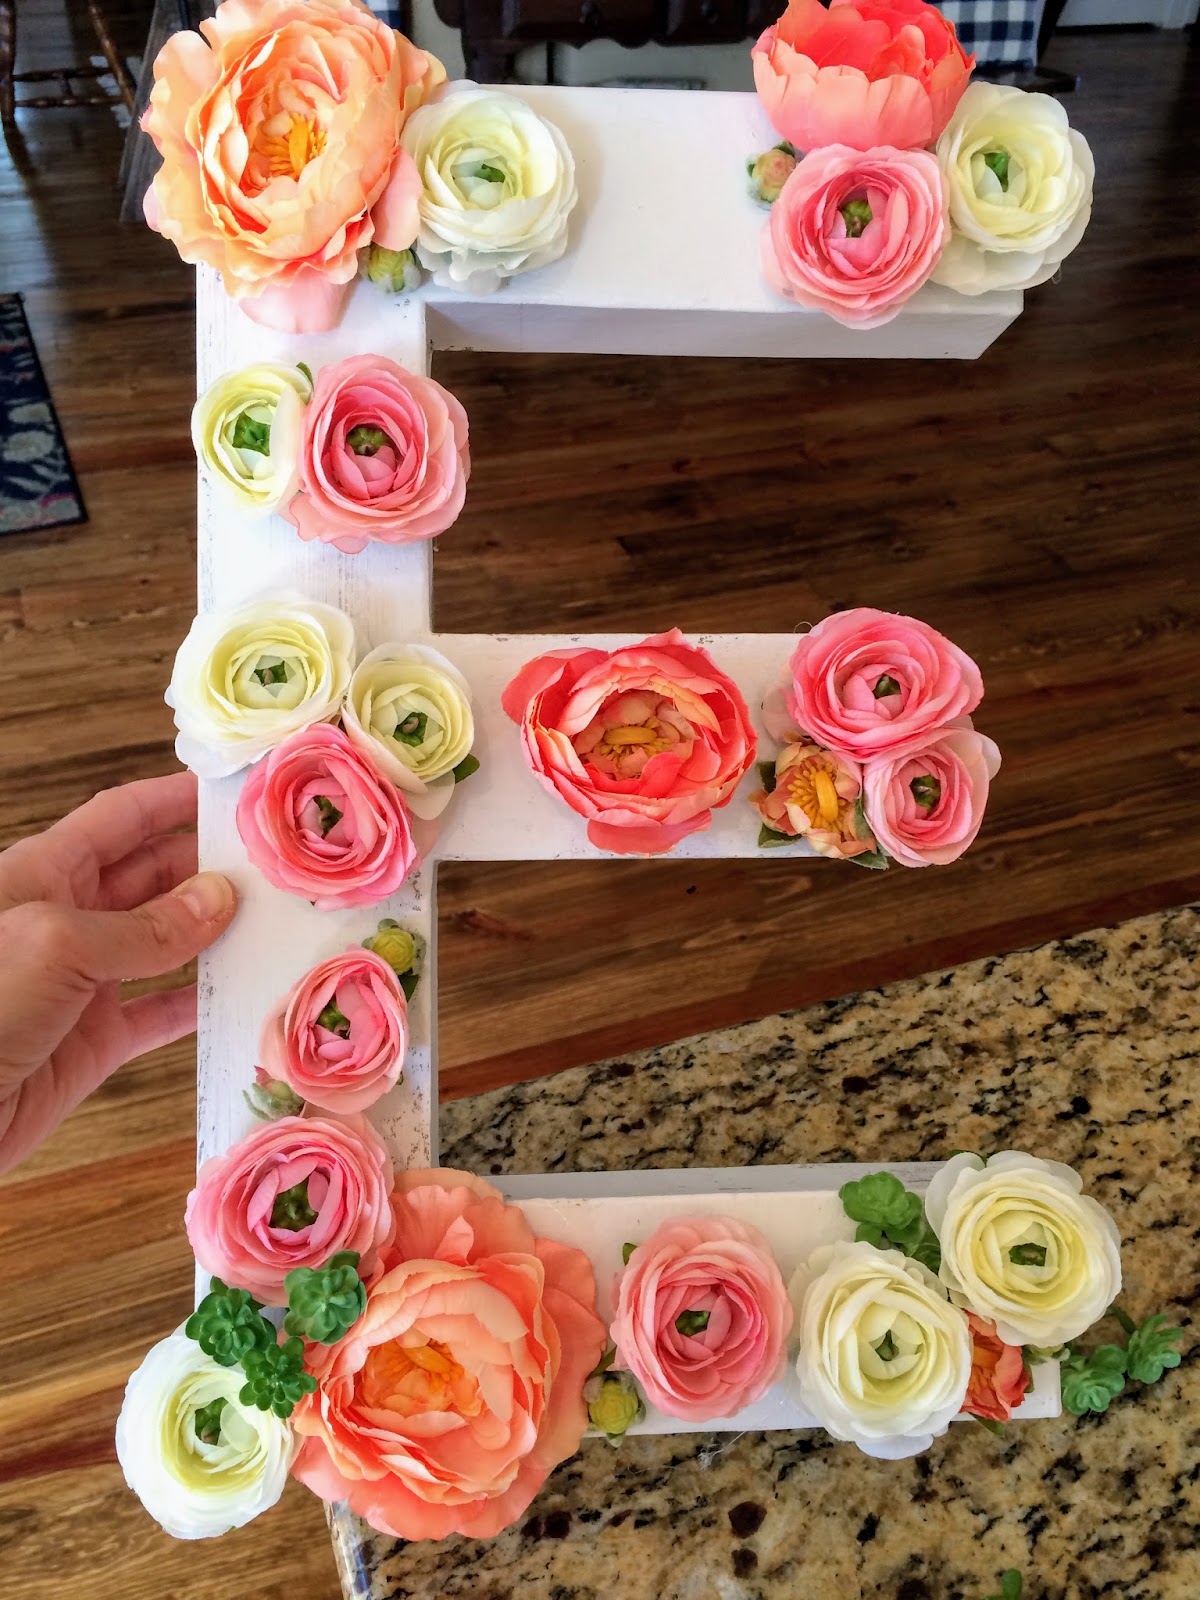
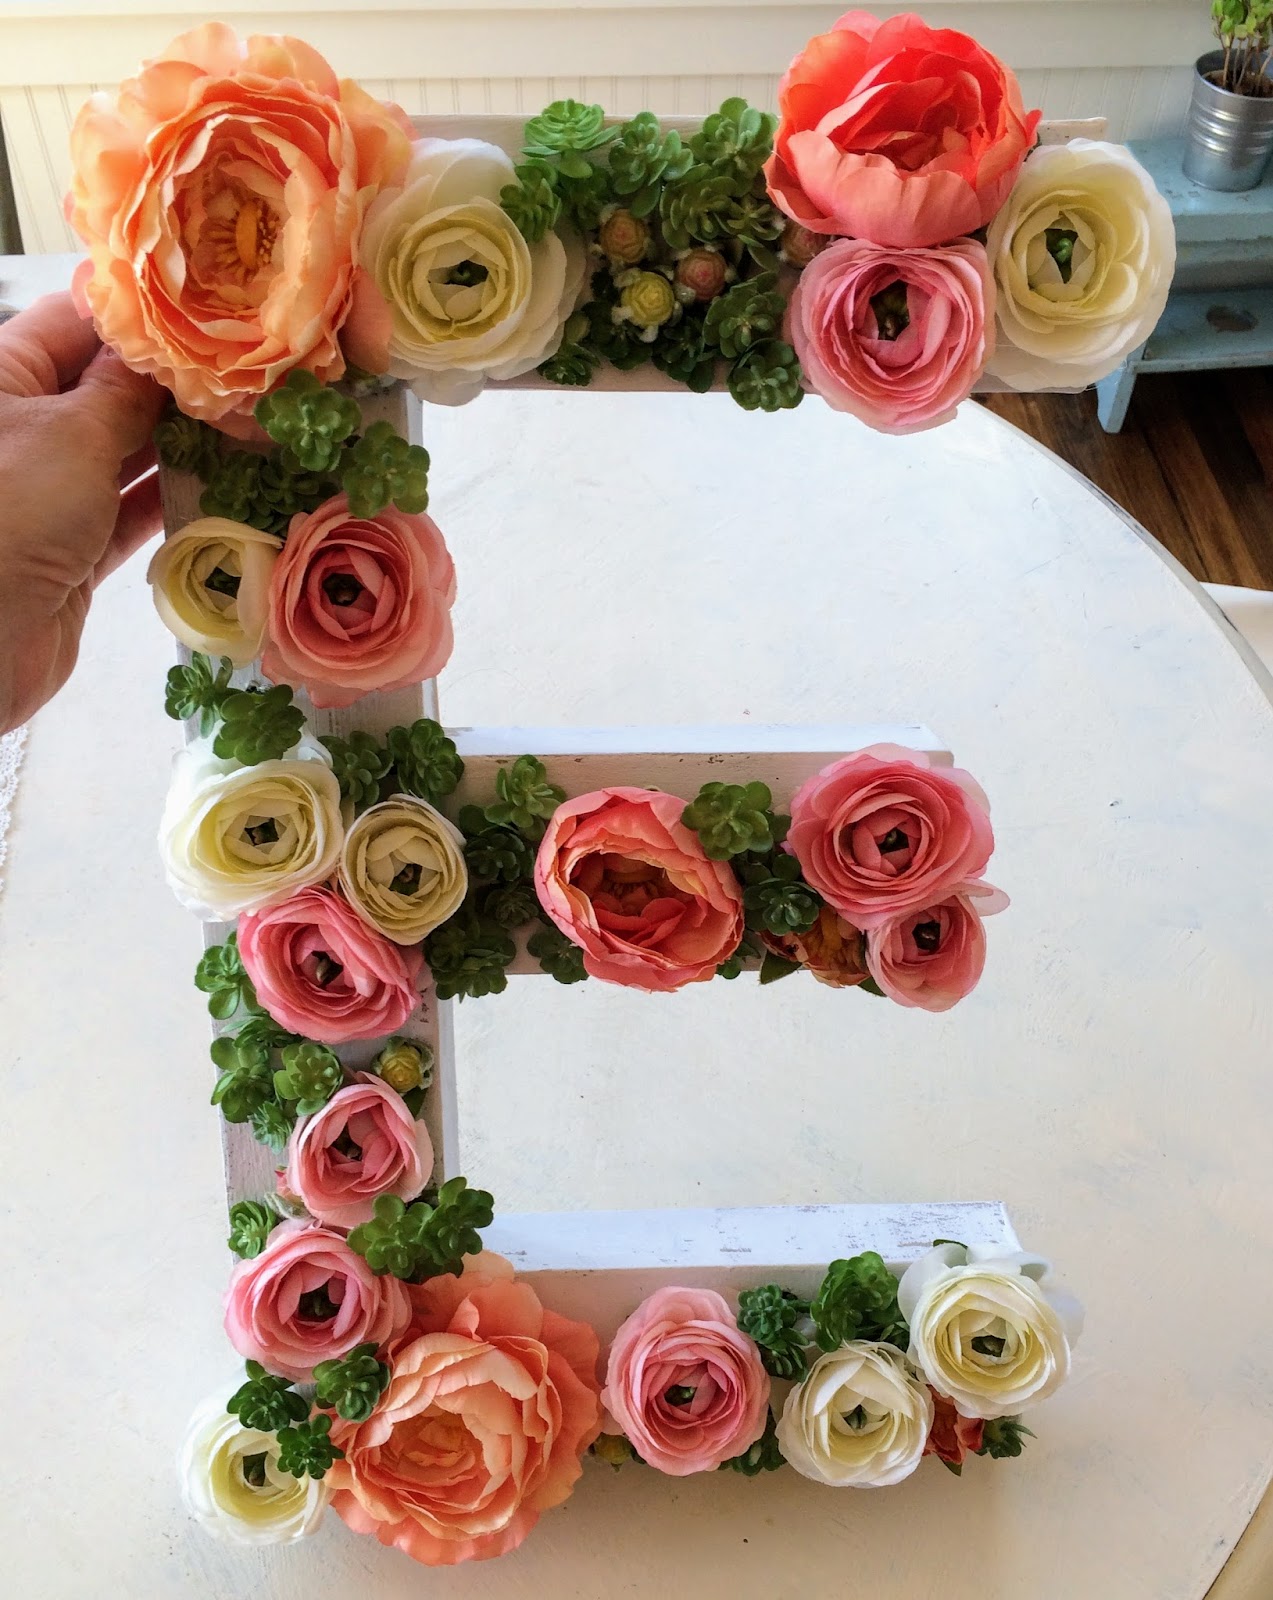
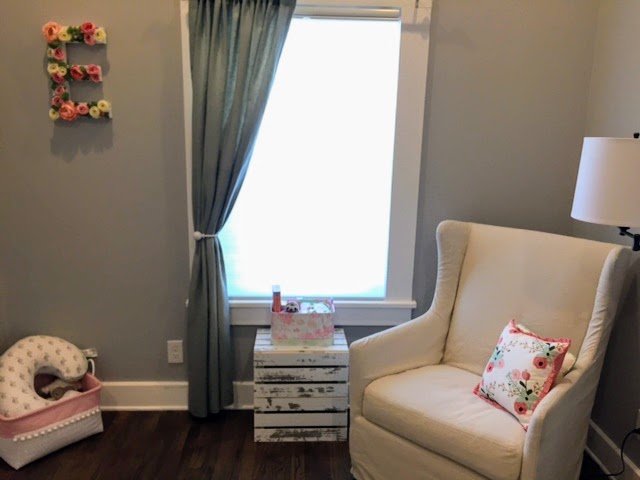
The finished product:

IMG_8867.JPG

Here it is in the nursery:

IMG_5177.JPG


Isn’t her nursery just perfect? You should see the rest of it!

I’ll share the DIY for the tassel banner next week. It’s another really versatile craft you could do to suit your color scheme, and theme.

I hope everyone is enjoying this back to school season, and making the most of the end of the warm, summer days. (Psst! Go swimming!)

As always, thank you for reading. I love comments and questions, so just let me know what you think!

XO, Steph

Monday, July 24, 2017

How the cows convinced us to put up a fence

A few weeks ago, Brian came home and caught a cow red-hoofed (y'all. I actually laughed at that. Thank you for understanding) eating his grill cover. Just chewing that thing like it was meant for her.

Can we pause for a moment to recognize the irony of a cow chewing on a grill cover that probably tastes like what we've been grilling? Uh huh. Like hamburgers, and steaks. Watch yourself Bessie-you could be next.

Anyway, he "hey-ed!!" that heifer just so she could regurgitate it for him. Which was cute.

So besides the slobber, and stomach contents (*gag), it had a few holes.

That same week, a frisky little calf knocked a handmade pot off the front steps and broke it. The nerve.
(Dear Aunt Sara, need new pot. XO) As if that wasn't enough, it had a real live plant it it..... that I had kept ALIVE no less. Oh, now it's on.

When we first moved in, almost 6 months ago, putting up a fence was one of the top three things on our list. But, it kept getting bumped down the list for things that were more imminent, maybe easier…..and let’s just be honest here,  we had some apprehension about working with barb wire. BUT, now that we’ve got these cows acting like those two naughty Siamese cats from Lady and the Tramp, we needed to get serious. I have enough trouble keeping my plants alive (Ok, it was a succulent), thank you.

First, we drew out some ideas of how we wanted to enclose the yard. We decided that the “fence of our dreams" looks something like this.

Click picture for link :)

We have watched some videos and read some tutorials about how to make a fence like this. We are/want to be “do it yourself-ers” (read: gluttons for punishment) so all the plans we’ve made on the fence thus far are temporary. For now, they will keep the cows from trying to digest our property/kill themselves and buy us time to build our dream fence around the house weekend by weekend. Or maybe the kids and I can take a trip (ooooh. The beach maybe??) and  B can just tackle that fence while we’re gone (Like the deck). Just kidding. Unless you want to honey….
We technically have 10 acres, and we certainly didn’t want to fence out our whole section. So, we needed to decide what we considered our “yard”. Since we’ve lived here, we’ve referred to the cattle as our, “yard crew”.


They kept the grass short for us and we haven’t spent a minute mowing. We took that into consideration when choosing the size of yard to fence in. Whatever is in the fence will be our job to keep mowed. We also didn’t want to take more grass than we had to for the cows, even though they are naughty.
We already fenced in our garden beds, also as a temporary solution, to rabbits, cows and deer, so we used that existing fence line to fence in the yard.

Using a t-post driver, we drove in the t-posts to create the fence line we planned out. (Read about how we drove the t-posts in my “Adventures in Fencing” post)

IMG_6561.JPG

Here are the materials we collected for the fence:

IMG_8505.JPG


All the how-tos we read about putting up barb-wire fences stressed the importance of planting a post firmly with cement to secure the line and keep it taut and straight. Like good little diy-ers, we ignored that advice.
Being a temporary solution, we didn’t want to permanently put in posts. Since we didn’t have as sturdy a corner brace as we should have, we decided not to use the wire stretcher contraption, pictured above. It’s purpose is the pull the wire as taut as possible. Which is great, except we knew that pulling it as taut as possible would lean our insufficiently supported corner posts too much.

We used our ranch muscles to pull that barb wire and attach it to the t-posts with the clips.

IMG_8529.JPG
The red box is it's own project, which I'll share with you later.

IMG_8527.JPG

We pulled three strands all the way around.

See that big roll of wire? We would unroll it, VERY carefully. One of us would unroll while the other went along the line, yes, VERY carefully, pulling it tight and taut. We would then use a clip to attach it to the post.

IMG_8525.JPG


Could we just call my lack of photography skills endearing? Thank you. 
Oh, the clips. I struggled with those cotton pickin', dadgum @$#!&!!...I mean things. Brian would say, “let’s race!” igniting my competitive spirit. He would clip his strand and I would clip….but really just struggle to...Oh it was no competition, my friends. It was only frustrating….for me. B would ask, like a sweet husband, “want me to do it?” to which I would snap, “no. Go away!” I was sure THIS time I would clip that stupid, stupid thing on. Ugh.


But, we did it. It was two days of hard work, in the hot sun, but we can now say we put up our own barb wire fence. I don’t want to sound like I’m not proud, but it’s pretty obvious when you see it that we did it ourselves. But it does the job we need it to do, and it’s another skill experience we can add to our “Adventure Life Resume”.  Which isn’t a real thing, and pretty much just means this blog. :)

If you happened upon this post in hopes of finding a DIY how-to on how to string your own fence, I am SO happy you’re here. But friend, fellow fence builder, please google or pin another post. I am not trying to advise anyone on fencing...But come back soon okay?!

Thank you for reading!! I am working on a special birthday post for next week, so don’t miss it! Put your e-mail into the “Follow our Adventures by email” box so you never miss a post! You can consider it my birthday present. XO, Steph

Friday, April 21, 2017

How to turn old, enamel bowls into Pendant Lights


Good morning! Back before we moved in, I asked, on this blog,  for opinions about our pendant lights. While at the design center, we were offered several choices of pendants. Here arose another of those moments where we were able to choose something that ‘was fine”, or “we liked” but is “it’s fine” why people build? We decided to pass (and accept a insulting “credit”) on the design center options and find some we loved. Due to the large, open layout of our floorplan, the pendant lights seemed like the ideal opportunity to make a statement. Here comes the pressure….Here are the options we were considering this summer.


Since we moved in, back in January, we have been pendant-less and feeling just fine about it. After all, there are plenty of projects on the Smiths to-do list: there's three piles of uprooted cedars in the backyard, and the cows are practically ON the porch since we still don't have a fence around the house....I'm not complaining. We may not always feel like doing these things, but those things were motivators for being here: learning new things, working with our hands, establishing our home, leaving a legacy...well now you've got me all teary. Anyway, pendant lights.

We kept going back and forth but never could “click the button”. It wasn’t love. If pendant light love is a thing?!

Last month, on the way home from Houston, we stopped at pretty much every antique store/mall for the whole 150 miles.  At one of our stops, in Paige, TX, we found a unique light fixture made from an old ladder with three pendants hanging down. The pendants has old, white enamel shades on them. Eureka! A white enamel covered light bulb lit up above our heads. (Get it?! Too much?)


We tried negotiating with the shop owner-a good idea at these places-but she wasn’t willing to disassemble her light fixture. Understandable, since all we wanted were the white shades. But, we now knew what we were hunting for.

A few weeks later, in Round Top (read about our trip to Round Top), our heads spinning, Brian spotted some rusty white enamel bowls. They weren’t well marketed or styled in any way. They were pretty much disregarded, laying on the ground in a pile. We snatched up 3, and negotiated the price down to $15. FOR ALL THREE.

Here they are, the beautes, ready to achieve their destiny.


We bought three pendant light kits from Home Depot. Get them here.  


Next, we needed to drill the holes in the base. Make sure to measure your hole from all sides of the base. Too far to one side, and the bowl will hang slanted.  We used this
Ryobi Carbon Hole Saw Set as an attachment to our drill for this part.
PSA:  I would recommend wearing eye protection and a mask when doing this. I can tell you this from the other side. You don’t want metal shards in your face/down your throat. You will notice we are not wearing said precautionary safety items. Like dummies. Do as I say, not as I do.

Once the holes were drilled, we used a file to file down the edges to ensure a perfect fit for our light kit.


We used a file to file down the edges of our circle just enough for the kit to fit through. You can also find this at Home Depot. 


Then, while you’re upstairs, helping your daughter with another fun project (more on that later) your handy husband will have connected, and hung all three lights. He will have given himself only one minor shock, and you will both feel so proud of him. I’m kidding, he didn’t really shock himself. I told you, he’s handy.


This island has the most “gather game” of any place in our house. Our family, our friends, bible study gals, have all gathered around this island to talk and eat and laugh… there’s always laughing. These lights haven’t changed the good conversation, problems solved, homework finished, chips and salsa eating, what would you dos?,  That are destined for this island. But now all of those treasured times to come will just be well lit under the light of three new (to us) pendant lights.

This has been another one of those projects that just feels so darn satisfying. We made bowls into lights! For like $60! No one else has these lights. They are Smith originals. Ha. That would work better if our name wasn’t Smith….you know what I mean.
It really drives home the philosophy that good things are worth the wait, AND here I go again, it’s so gratifying when you can do things with your own hands. People were meant to work, and create.

Thank you for reading. I appreciate everyone who reads, asks about my next post, encourages me to blog. Thank you.

XO, Steph