Well, it’s here. Back to school. C went back to school today (FIRST grade!) so I’m here, and back to blogging. We had such a fun, fun summer so it’s hard to let go of it. But life goes on and we’re looking forward to a great year!
A short personal update, I’ll be teaching this year at L’s Mother’s Day Out. It’s a small, and precious little church school and I feel honored for them to have me there. I’m also pretty nervous, so think about me next week!
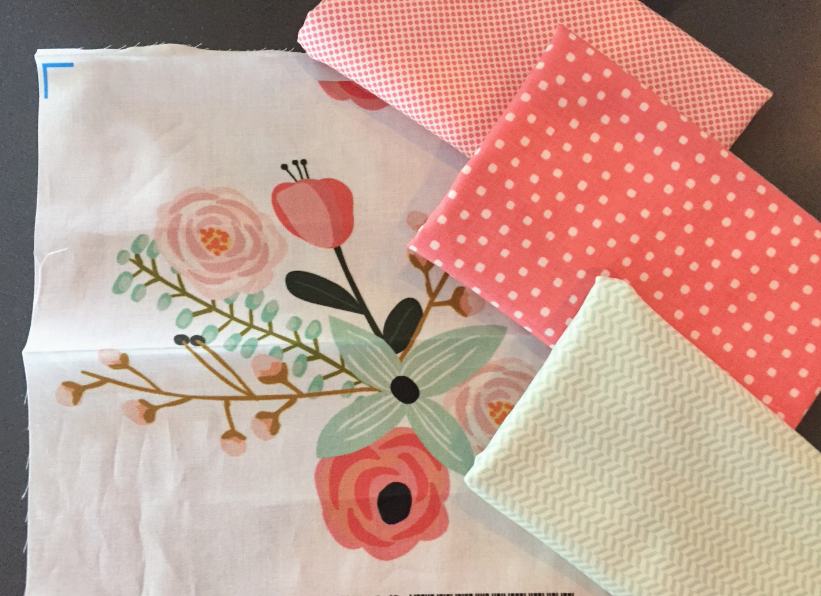
Last month, several friends and I threw a baby shower for our friend, Jennifer and her baby, Elizabeth (coming any day now!). I did a few projects, to be used as decoration at the shower, as well as for her to use in the nursery. We went along with the her nursery’s theme, and threw a garden themed shower.
Using her fabric choices as a guide, I made a tassel banner and a large, floral “E”. I really wanted to share the tutorial for these two things because they were so easy and so versatile! You could use the idea and make it work for you, and your decor.
Here are the fabrics she chose:
Let’s start with the big “E”. Here are the supplies I used:
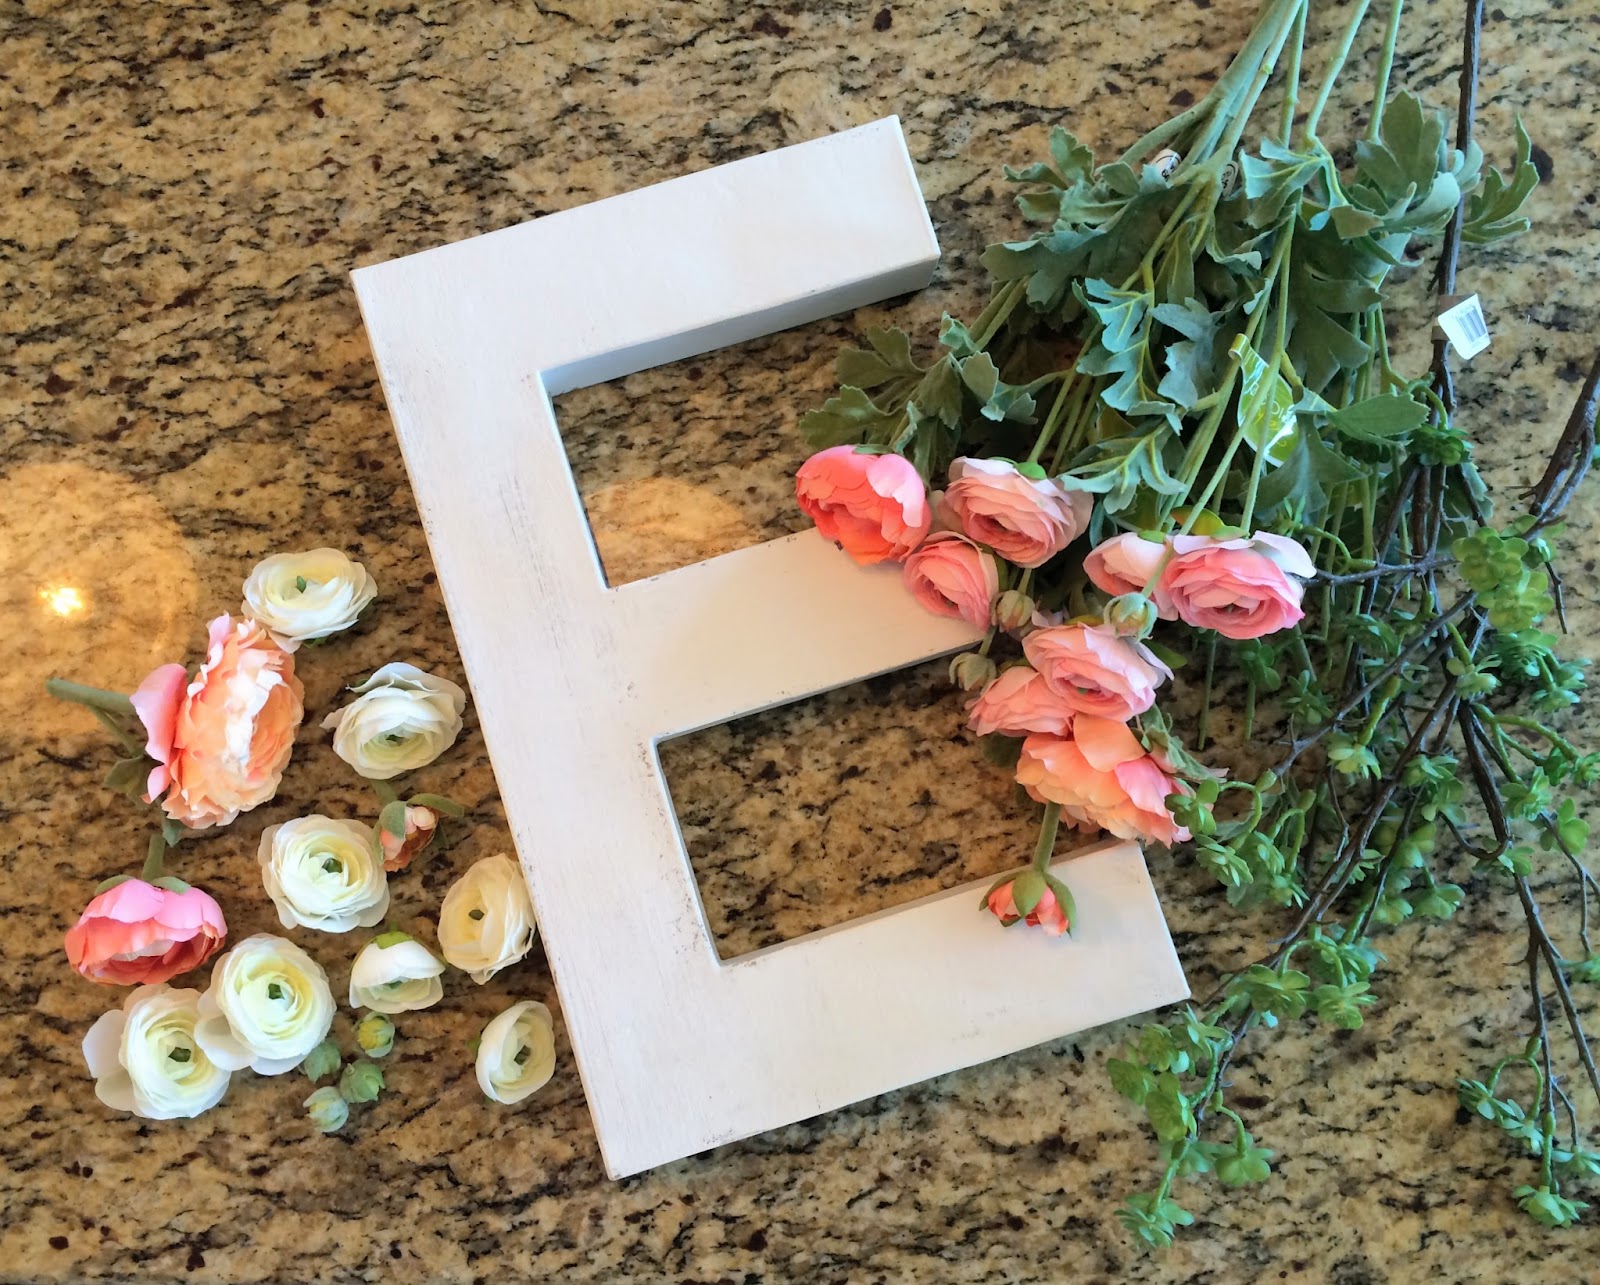
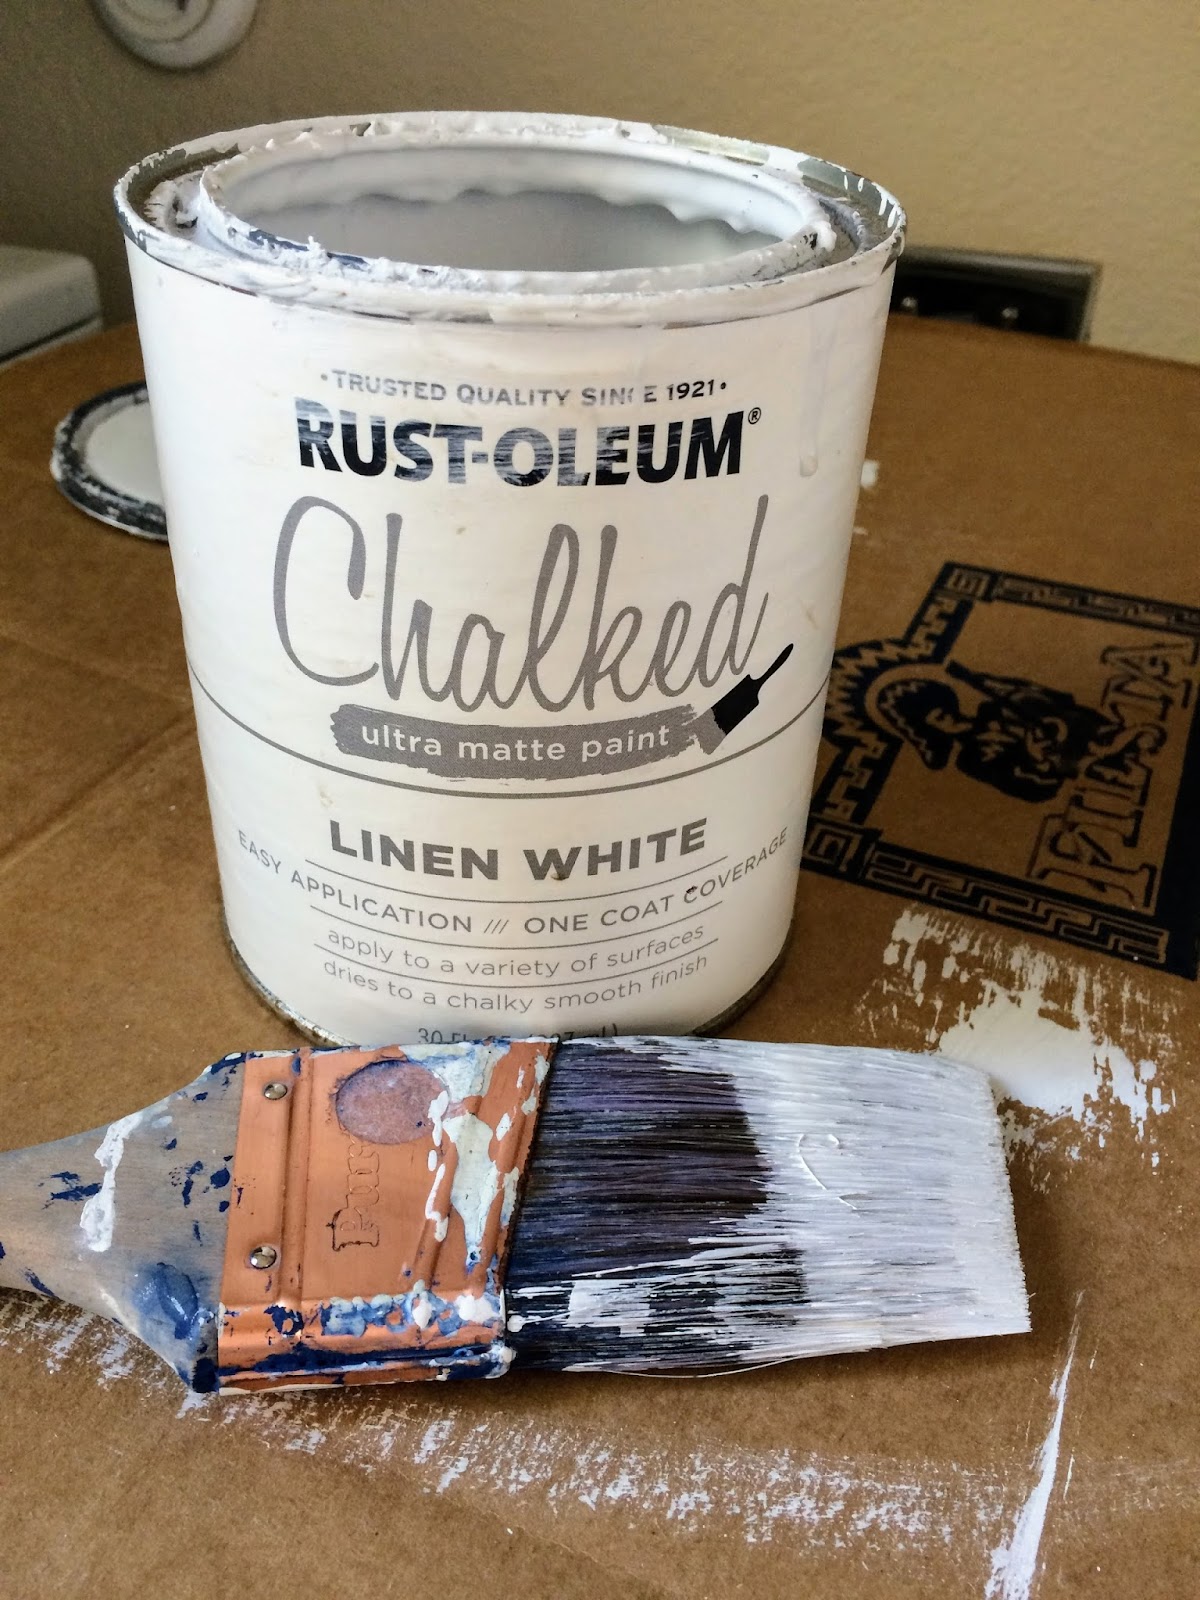
First, I painted that hollow, cardboard “E” that I got from Hobby Lobby. I found it in the crafts section and it was under $5. I used my favorite paint:
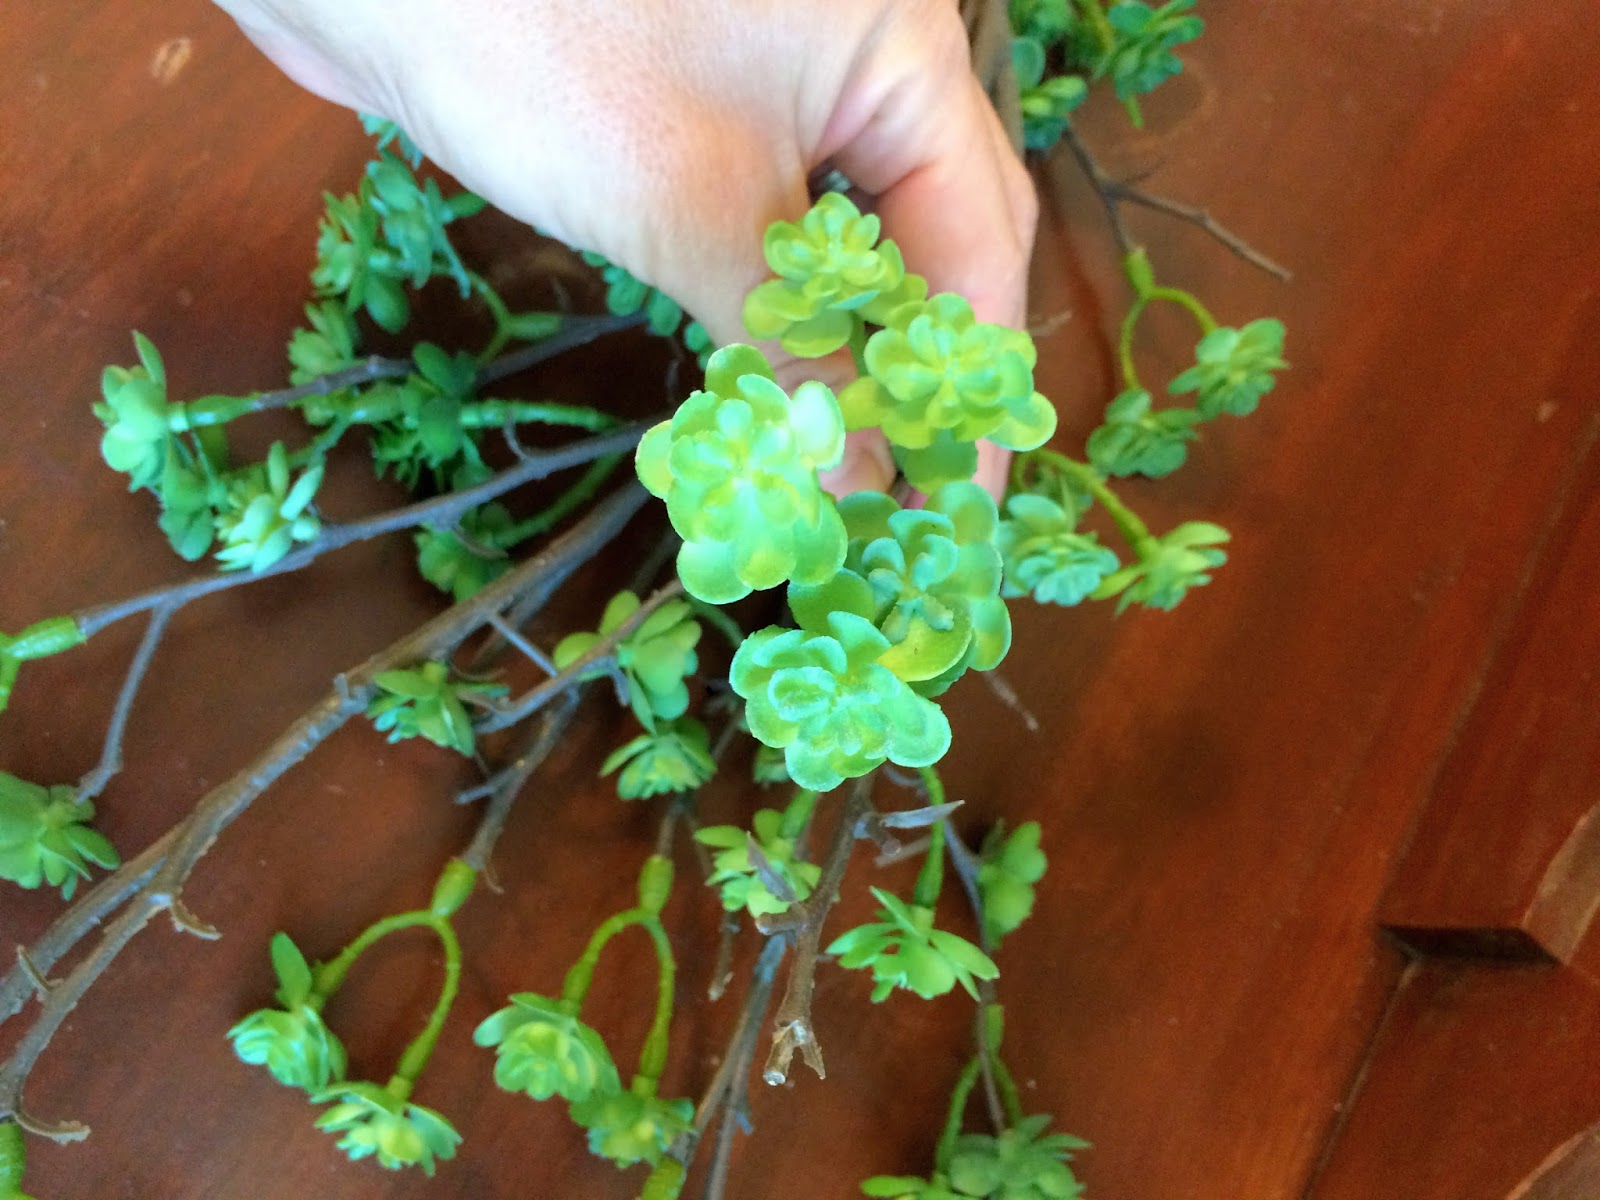
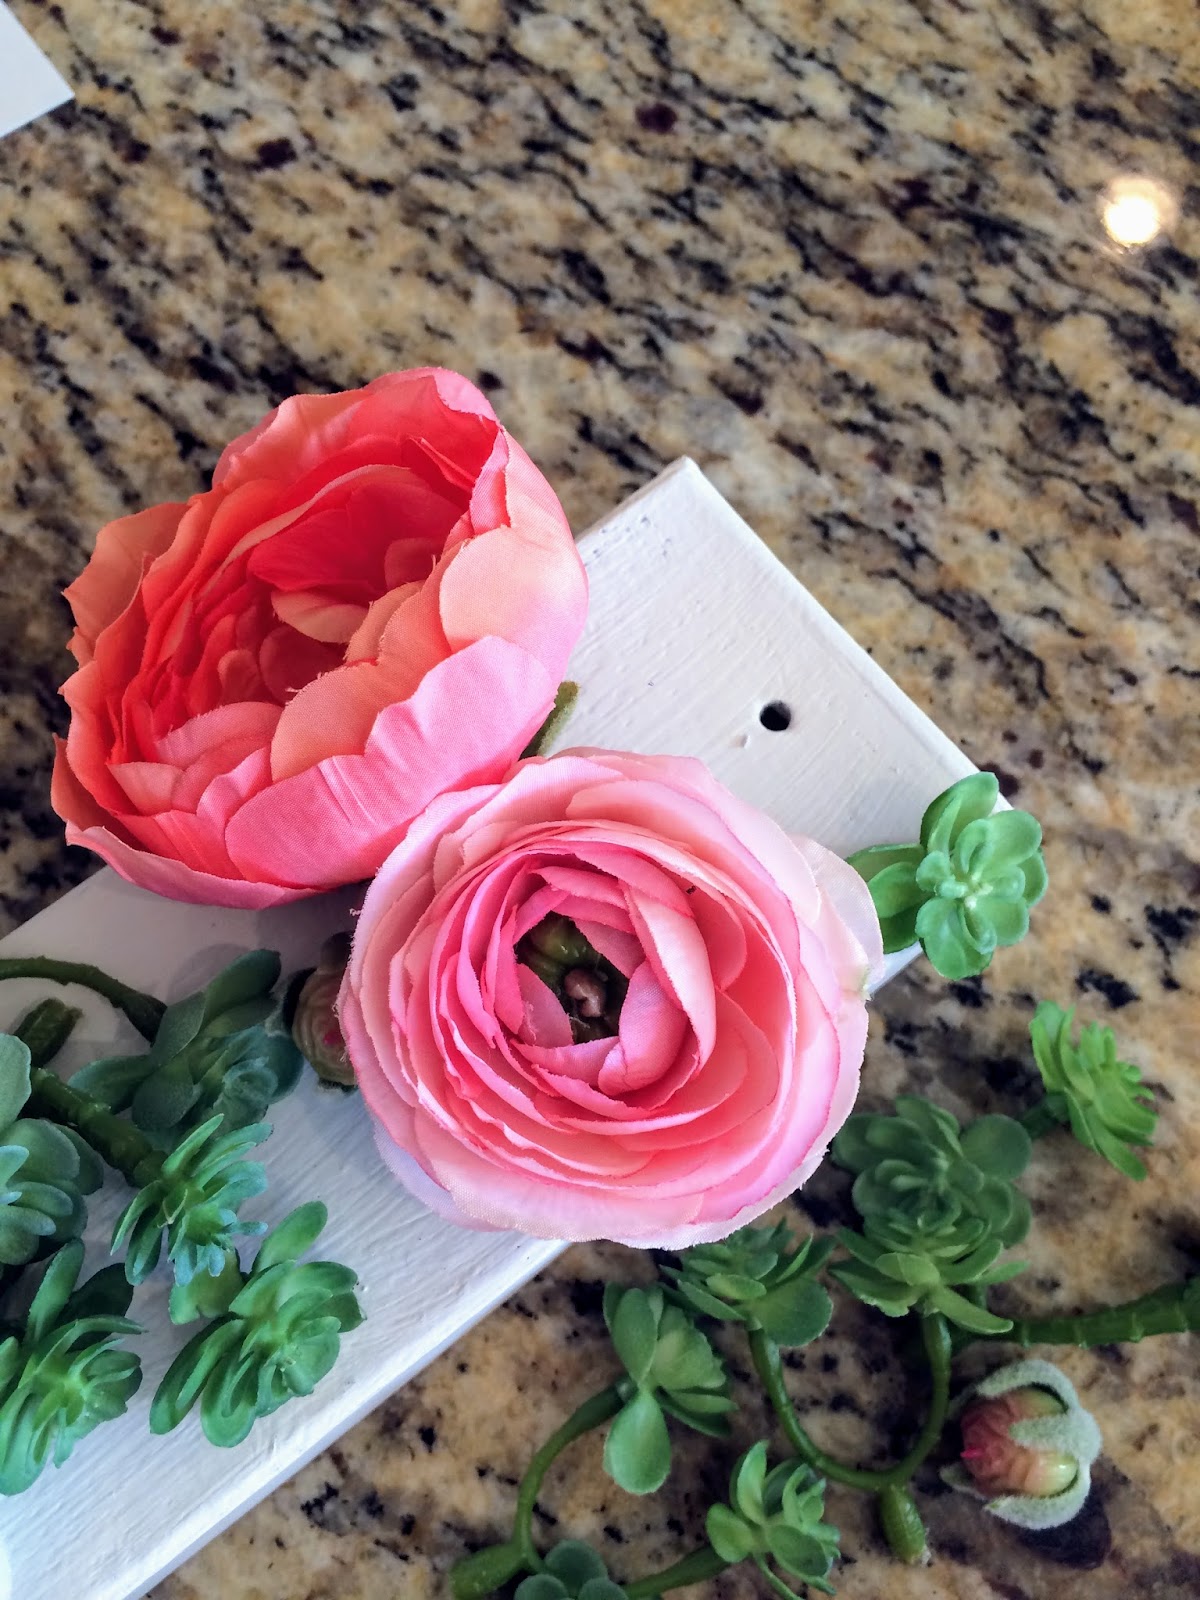
I plucked the heads of the flowers from the stems :
The faux flowers were the priciest of all the materials. I shopped around and got the stems on sale, and also found these cute mini succulent stems to fill in some gaps for just a few dollars. 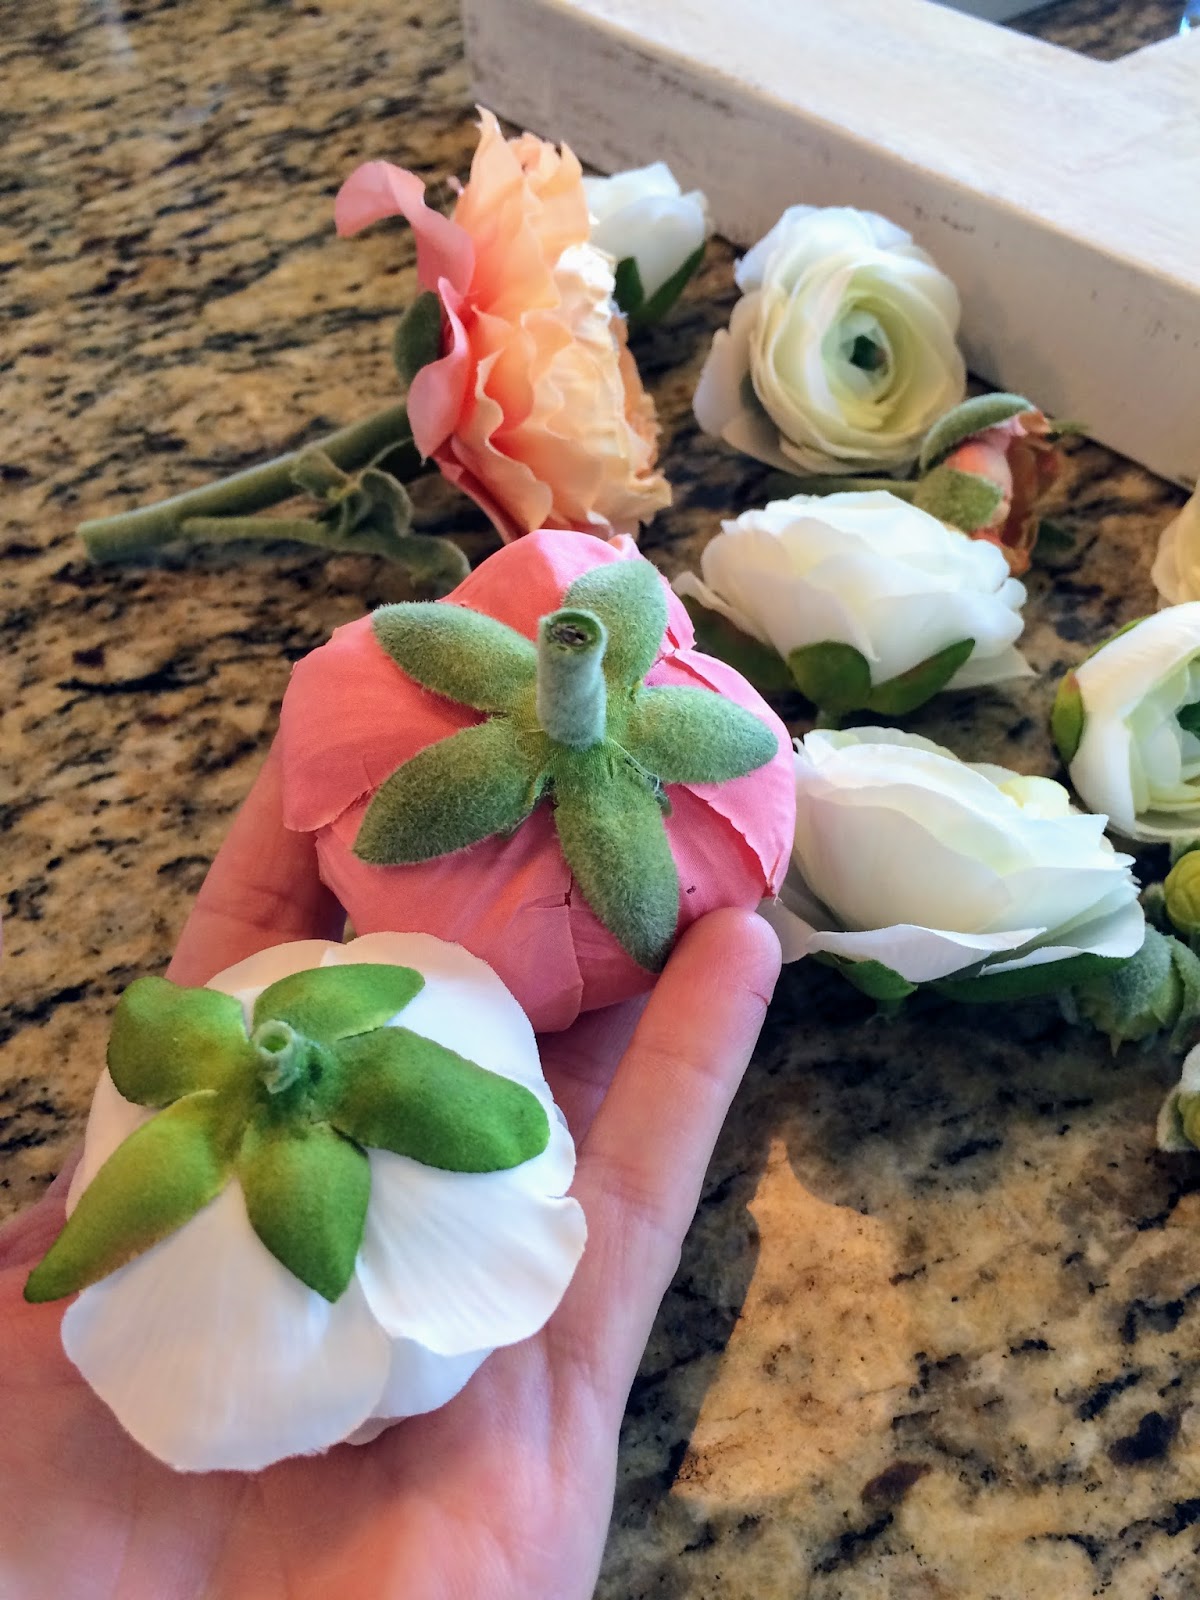
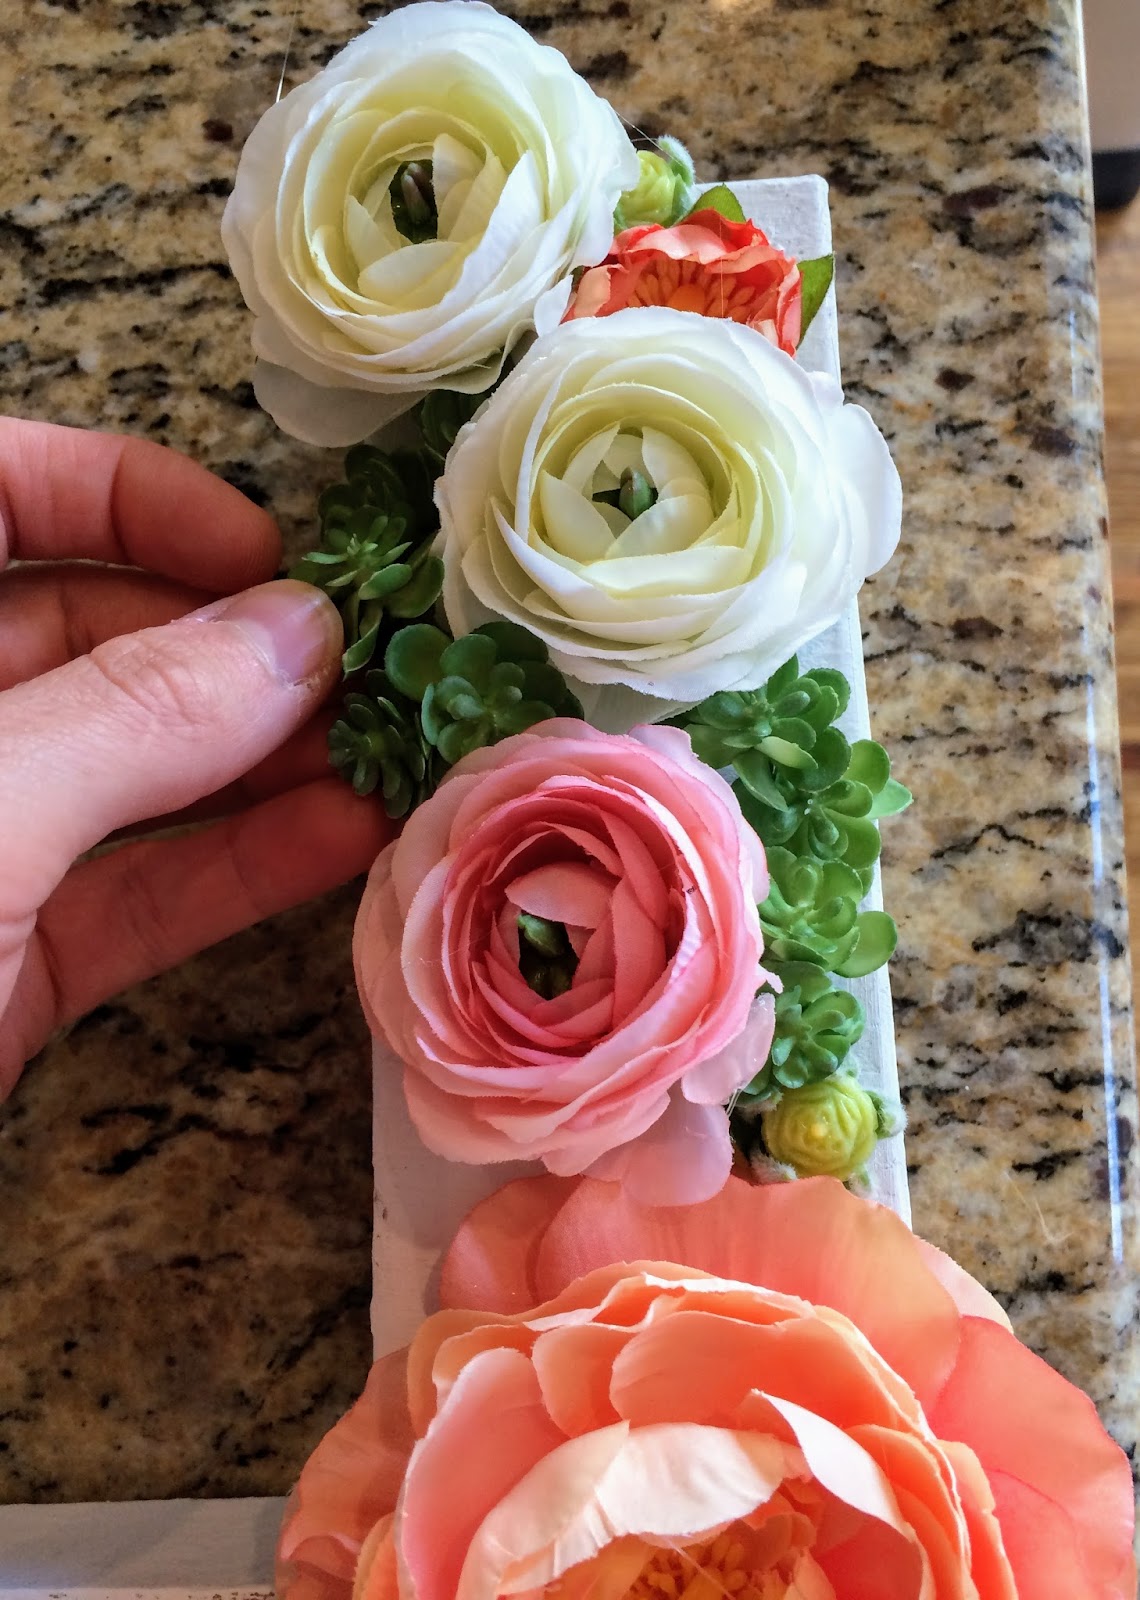
Next, I played around with the arrangement of the flowers until it “worked”.

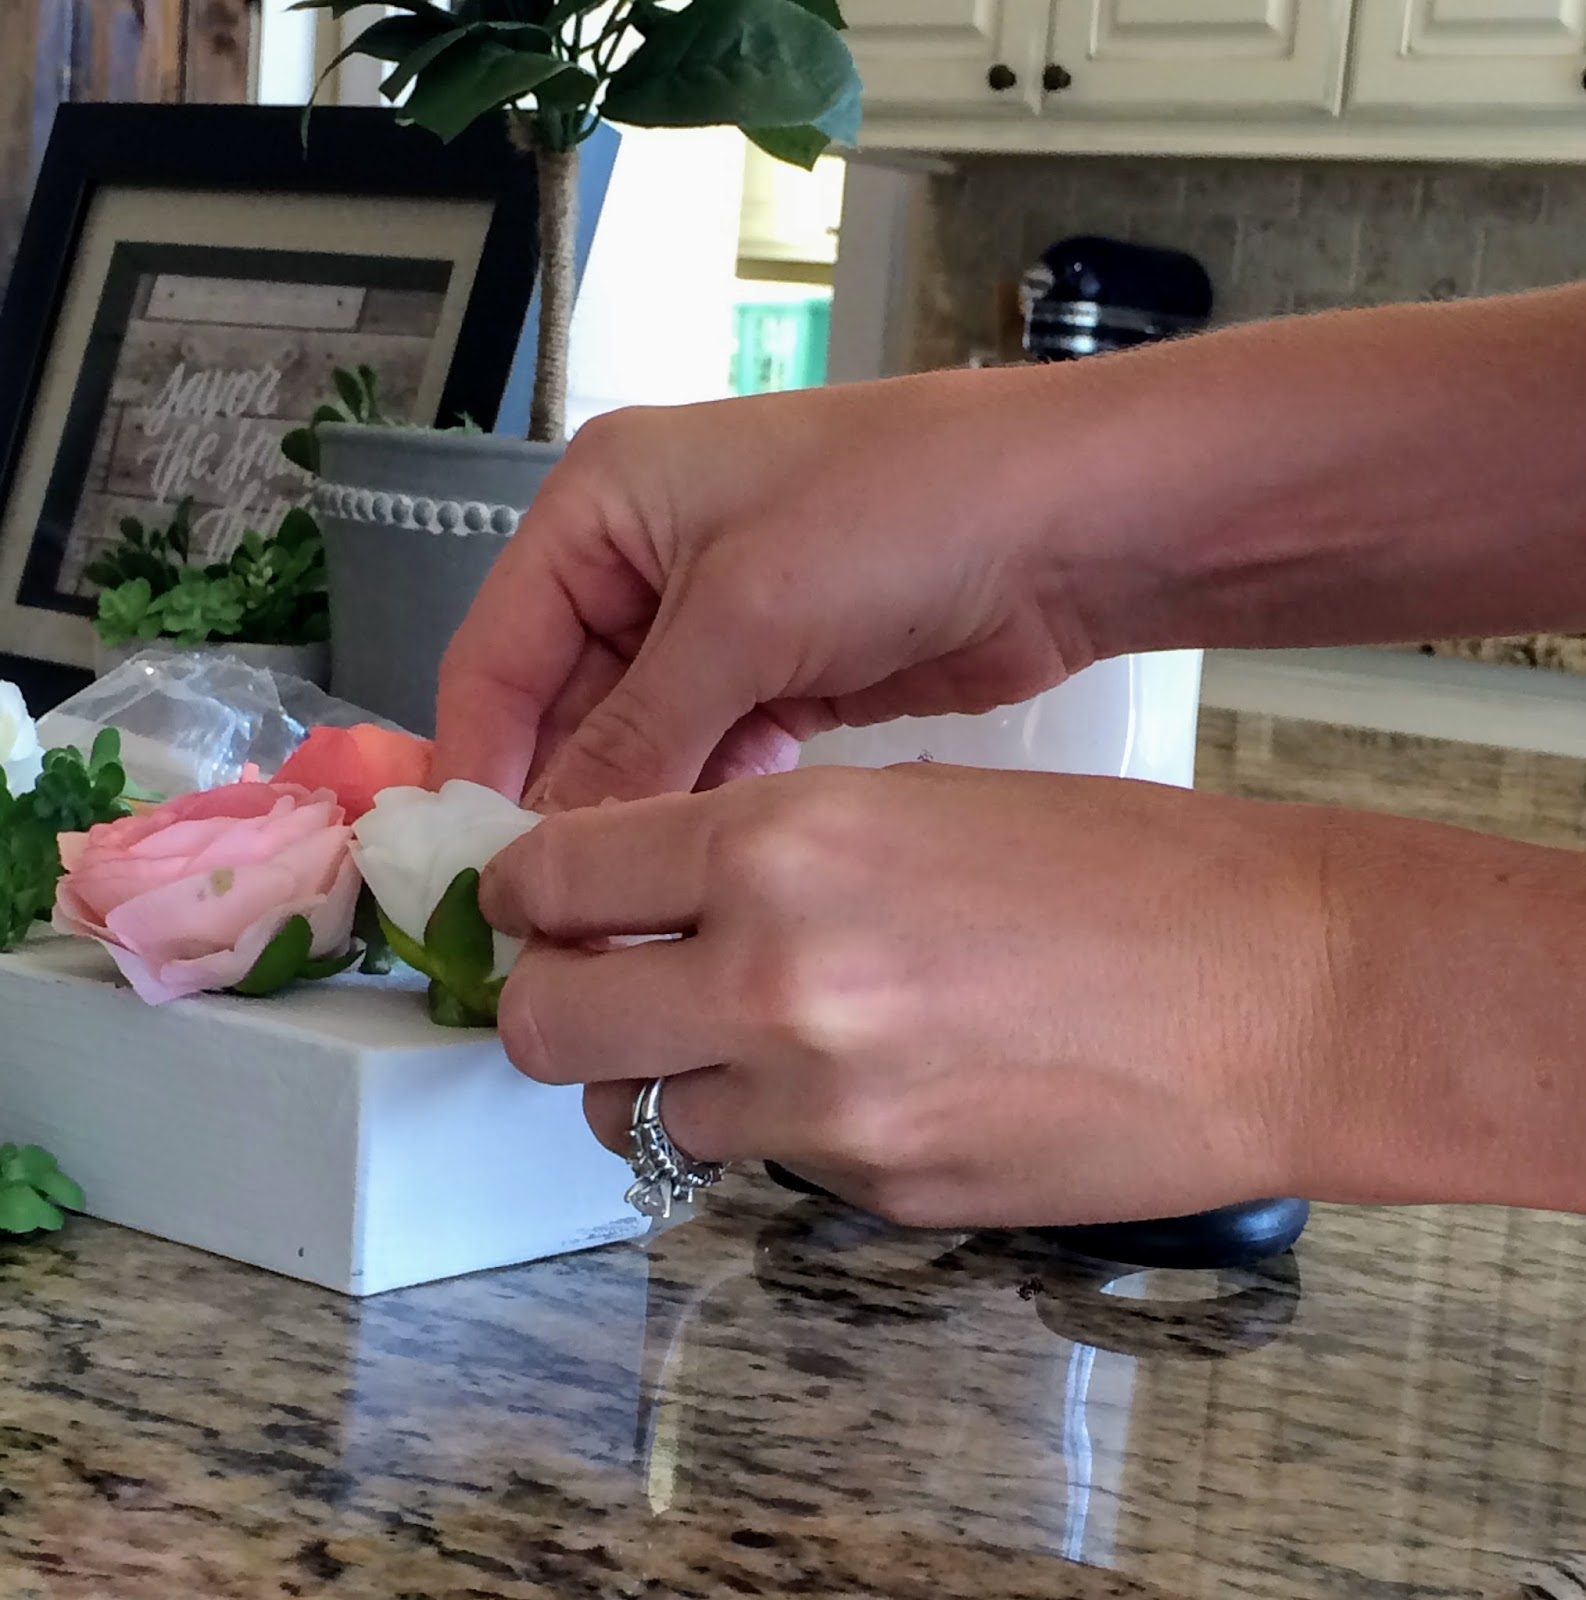
I placed the biggest flowers first, then groupings of 2-3 depending on size. I filled in the gaps
with the smaller buds and succulent stems. You’ll just have to arrange and rearrange until it’s right. Or just copy mine, if you like it!
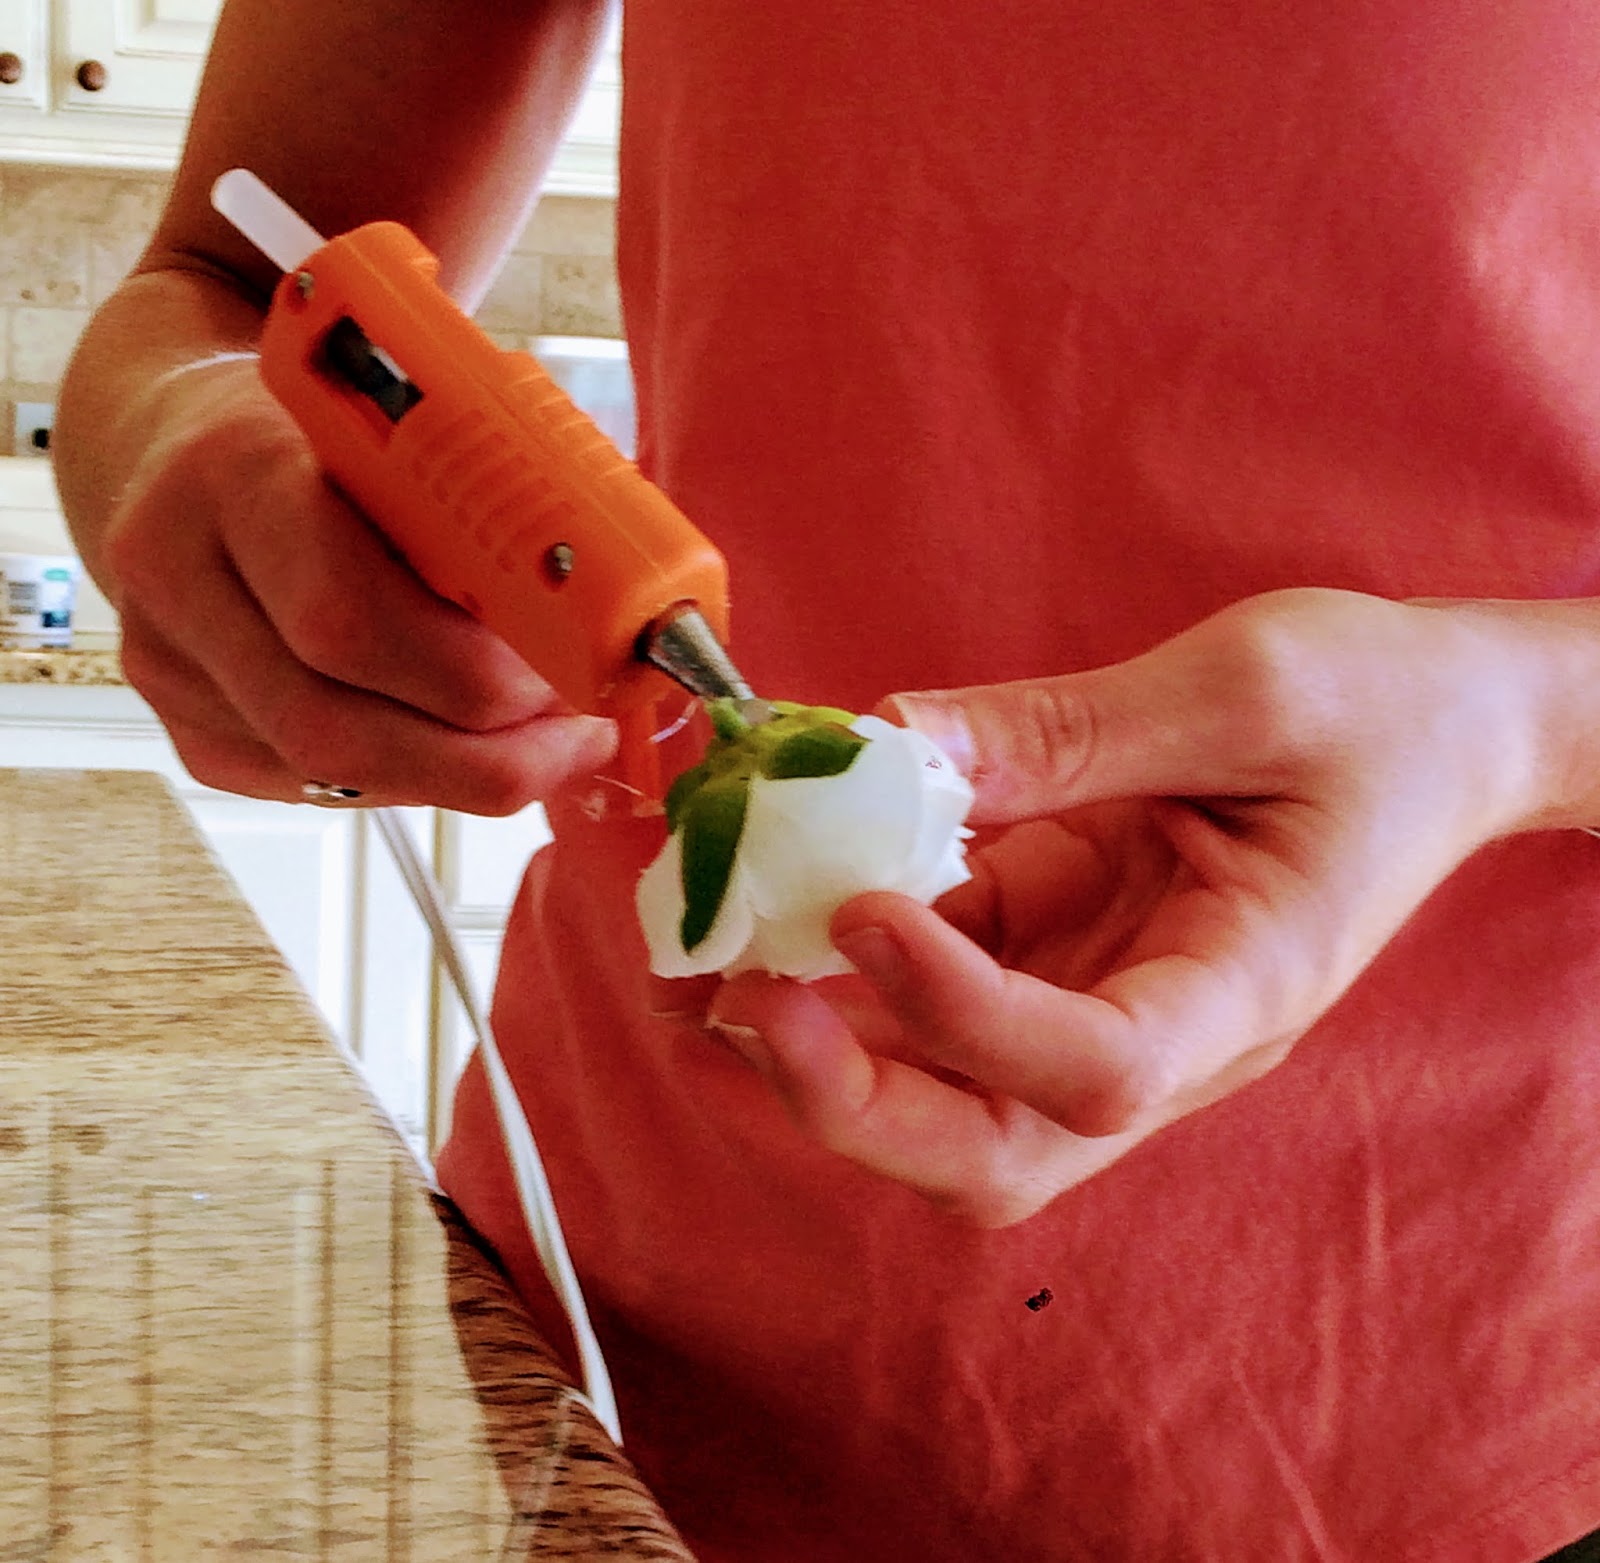
To attach the flowers, I punched a hole in the “E” and then hot glued the bottom of the flower.
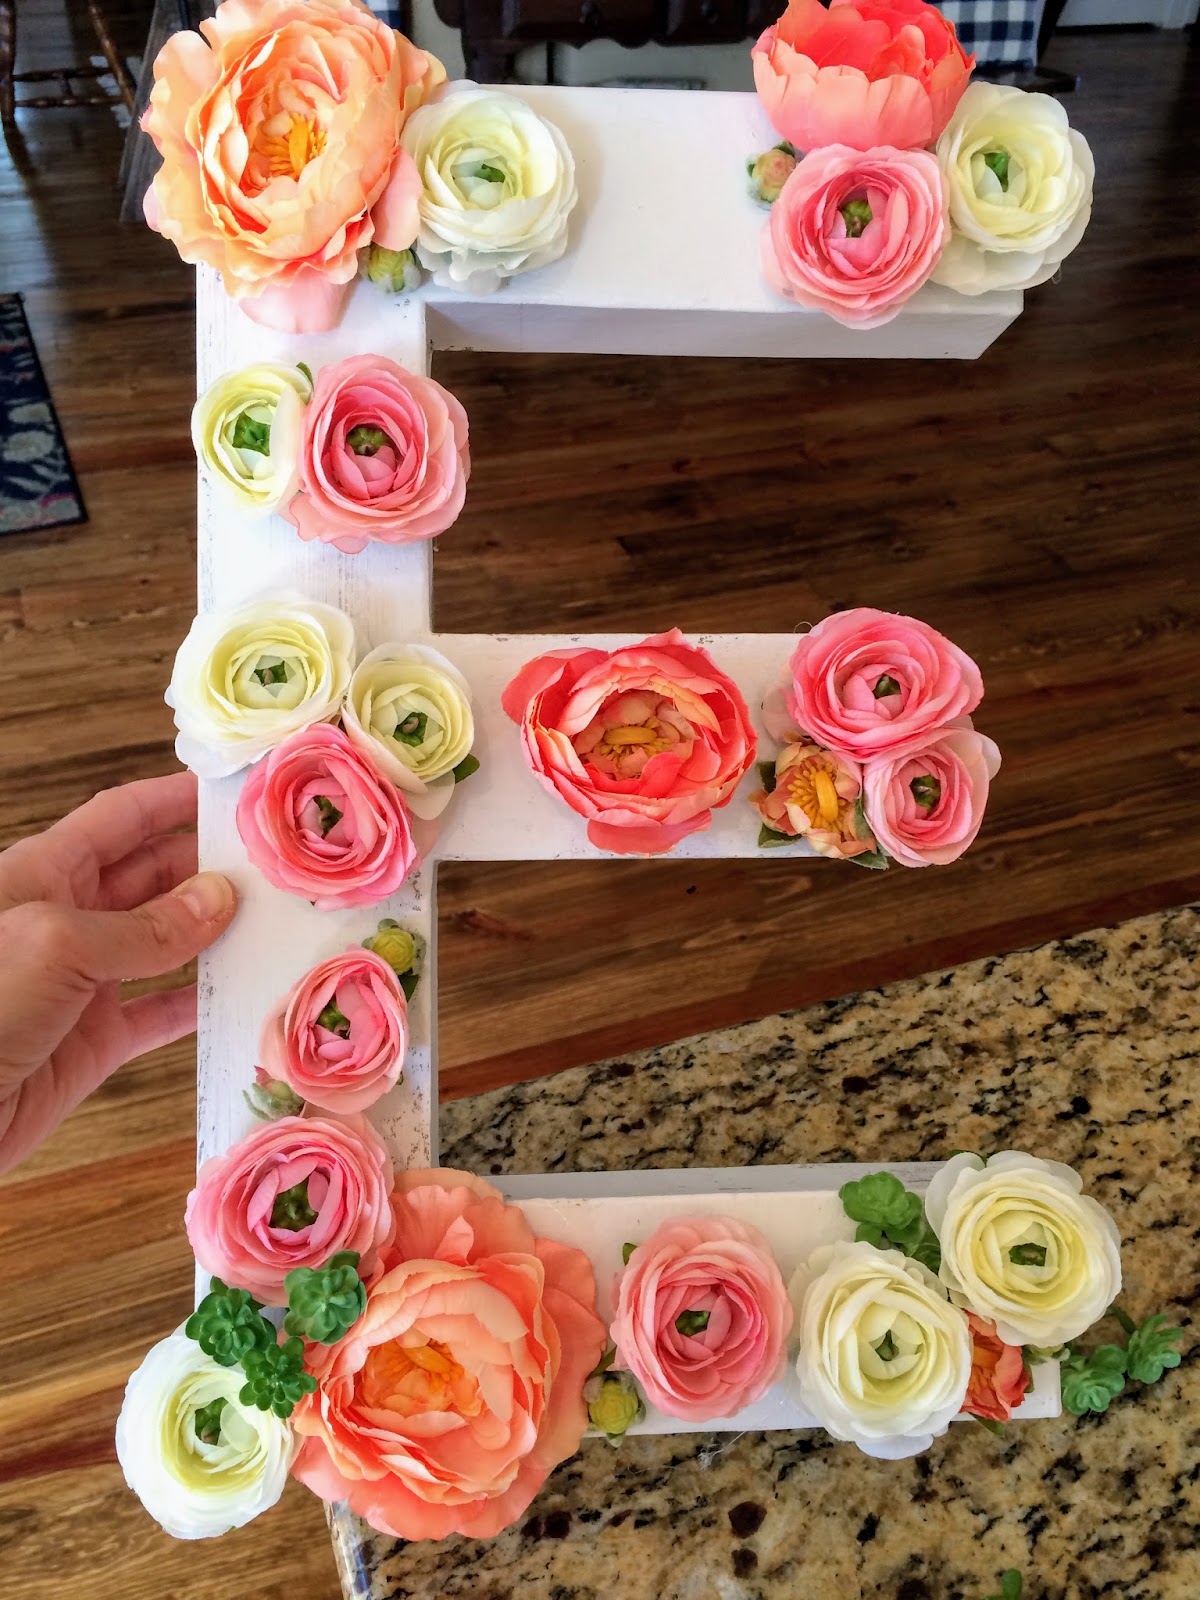
The finished product:

Here it is in the nursery:
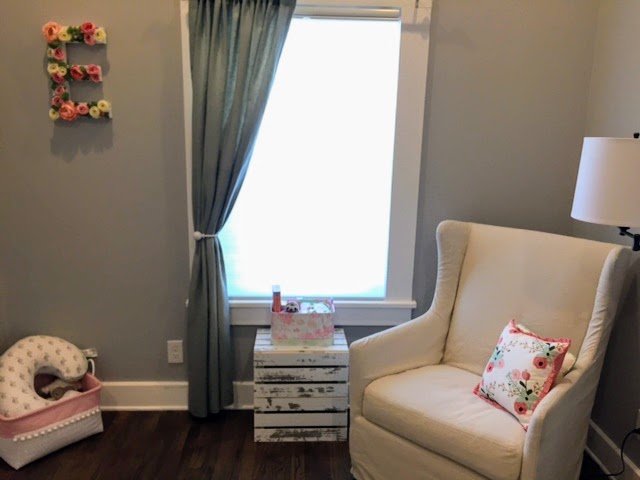
Isn’t her nursery just perfect? You should see the rest of it!
I’ll share the DIY for the tassel banner next week. It’s another really versatile craft you could do to suit your color scheme, and theme.
I hope everyone is enjoying this back to school season, and making the most of the end of the warm, summer days. (Psst! Go swimming!)
As always, thank you for reading. I love comments and questions, so just let me know what you think!
XO, Steph
Steph, how exciting you must be to be teaching little ones. I'm sure you will do awesome! That flowered E looks precious, good job.
ReplyDelete