Good morning! Last week I shared the step by step instructions for this large, floral “E” I made for a friend’s baby shower, and nursery.

Today, I’m happy to share a quick tutorial with you for a tassel banner.
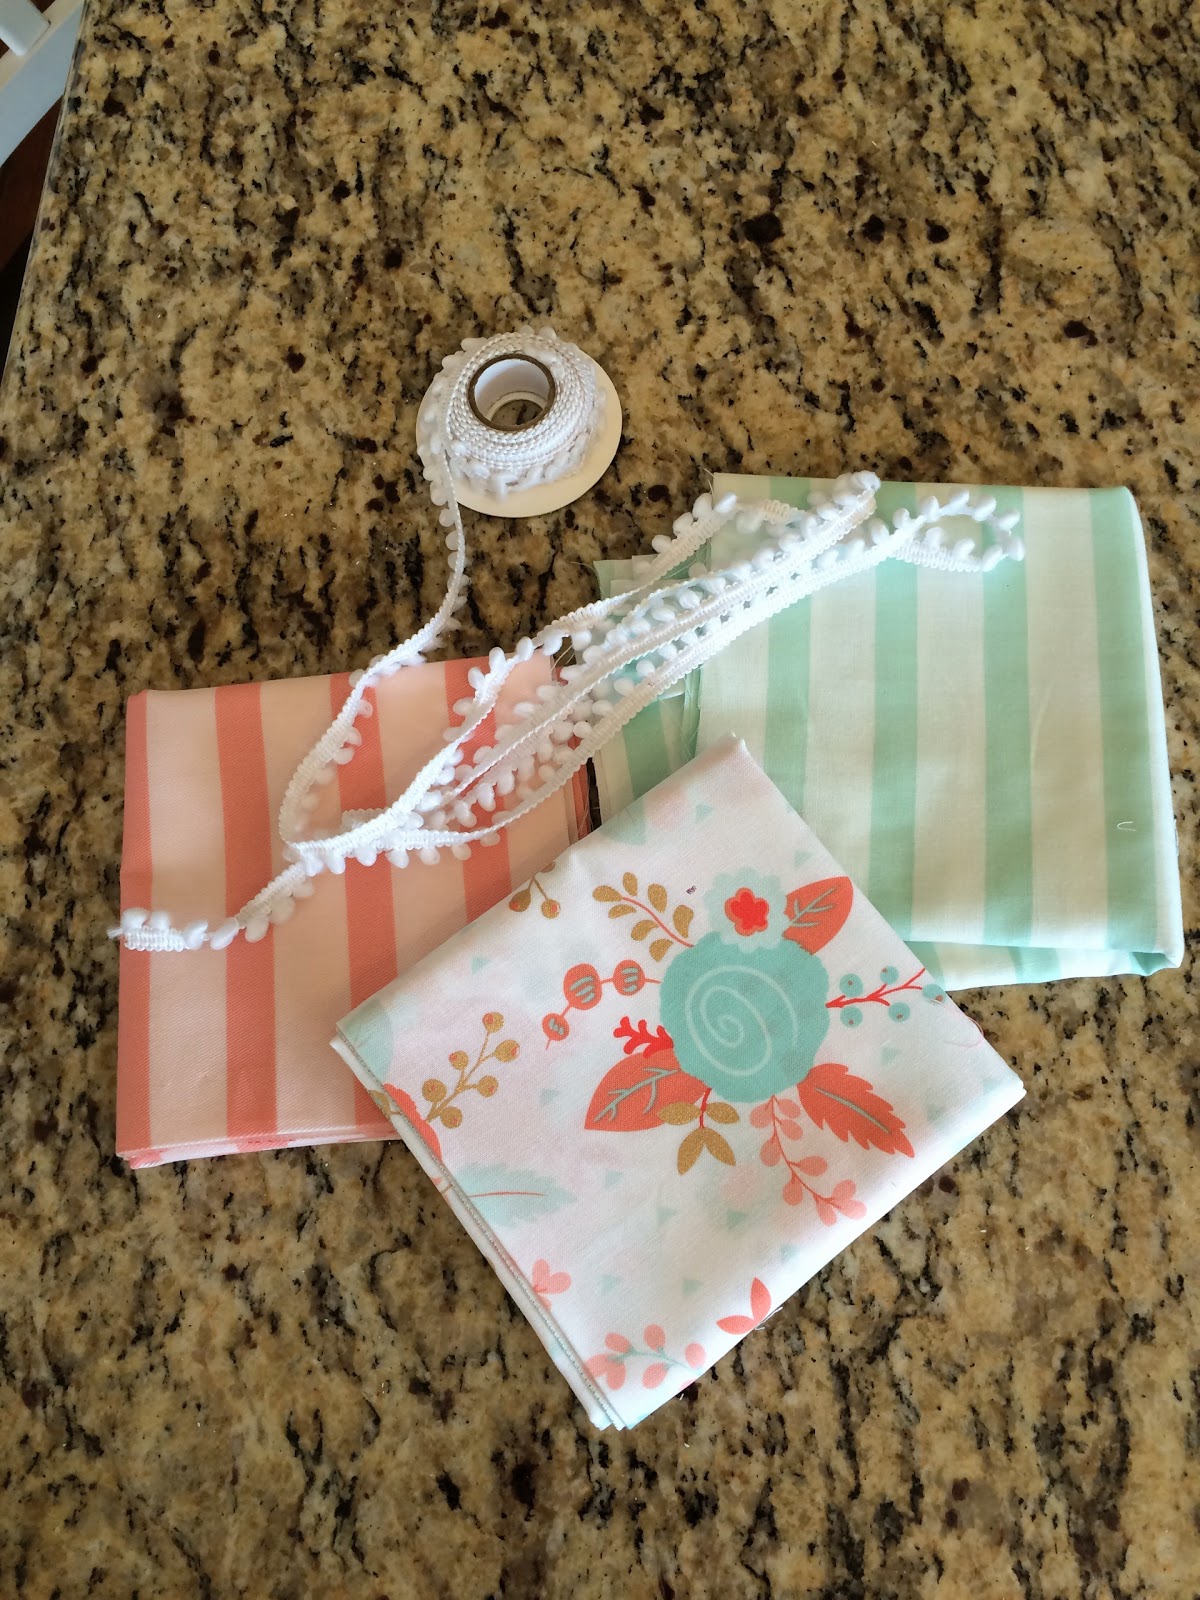
First, choose 3-5 coordinating fabrics, as well as a string, or ribbon to attach the tassels to. I chose these to coordinate with her nursery (see her fabrics in last week's post):

I got ¼ yard of the striped fabrics, and a ½ yard of the floral. I folded each piece in half and using the total width, figured out the thickness of each strip.

Once I got all the strips cut, (this process showed me that I NEED new scissors. I have three pairs in the house and none of them were properly sharp….hand. cramp.) I decided to wash them. Maybe it’s because my scissors weren’t that sharp, but I decided to work with the rough edges and after washing, they were more uniformly frayed. If that makes sense.


I tied my pom pom ribbon between two chairs and began planning out the tassels by simply draping them over the ribbon. I didn’t really do this in any particular pattern, I mostly just avoided putting two identical strips next to each other.
To attach the strips:


Once you get the “tails” through, your knot may need some adjusting to best show the print.

Next, I sat myself down and a few at a time, attached the strips to my ribbon.


That’s it! You could totally do this for a fall banner (buffalo check and orange), Christmas (red plaids, greens), a banner for a birthday party, for above a bed….This is so inexpensive, versatile and easy!
Let me know if you make one, I’de love to see it!
Thanks for reading! XO, Steph
Both of these are so sweet! I love that they can be used in her nursery after the shower. Such thoughtful and lovely decor.
ReplyDelete